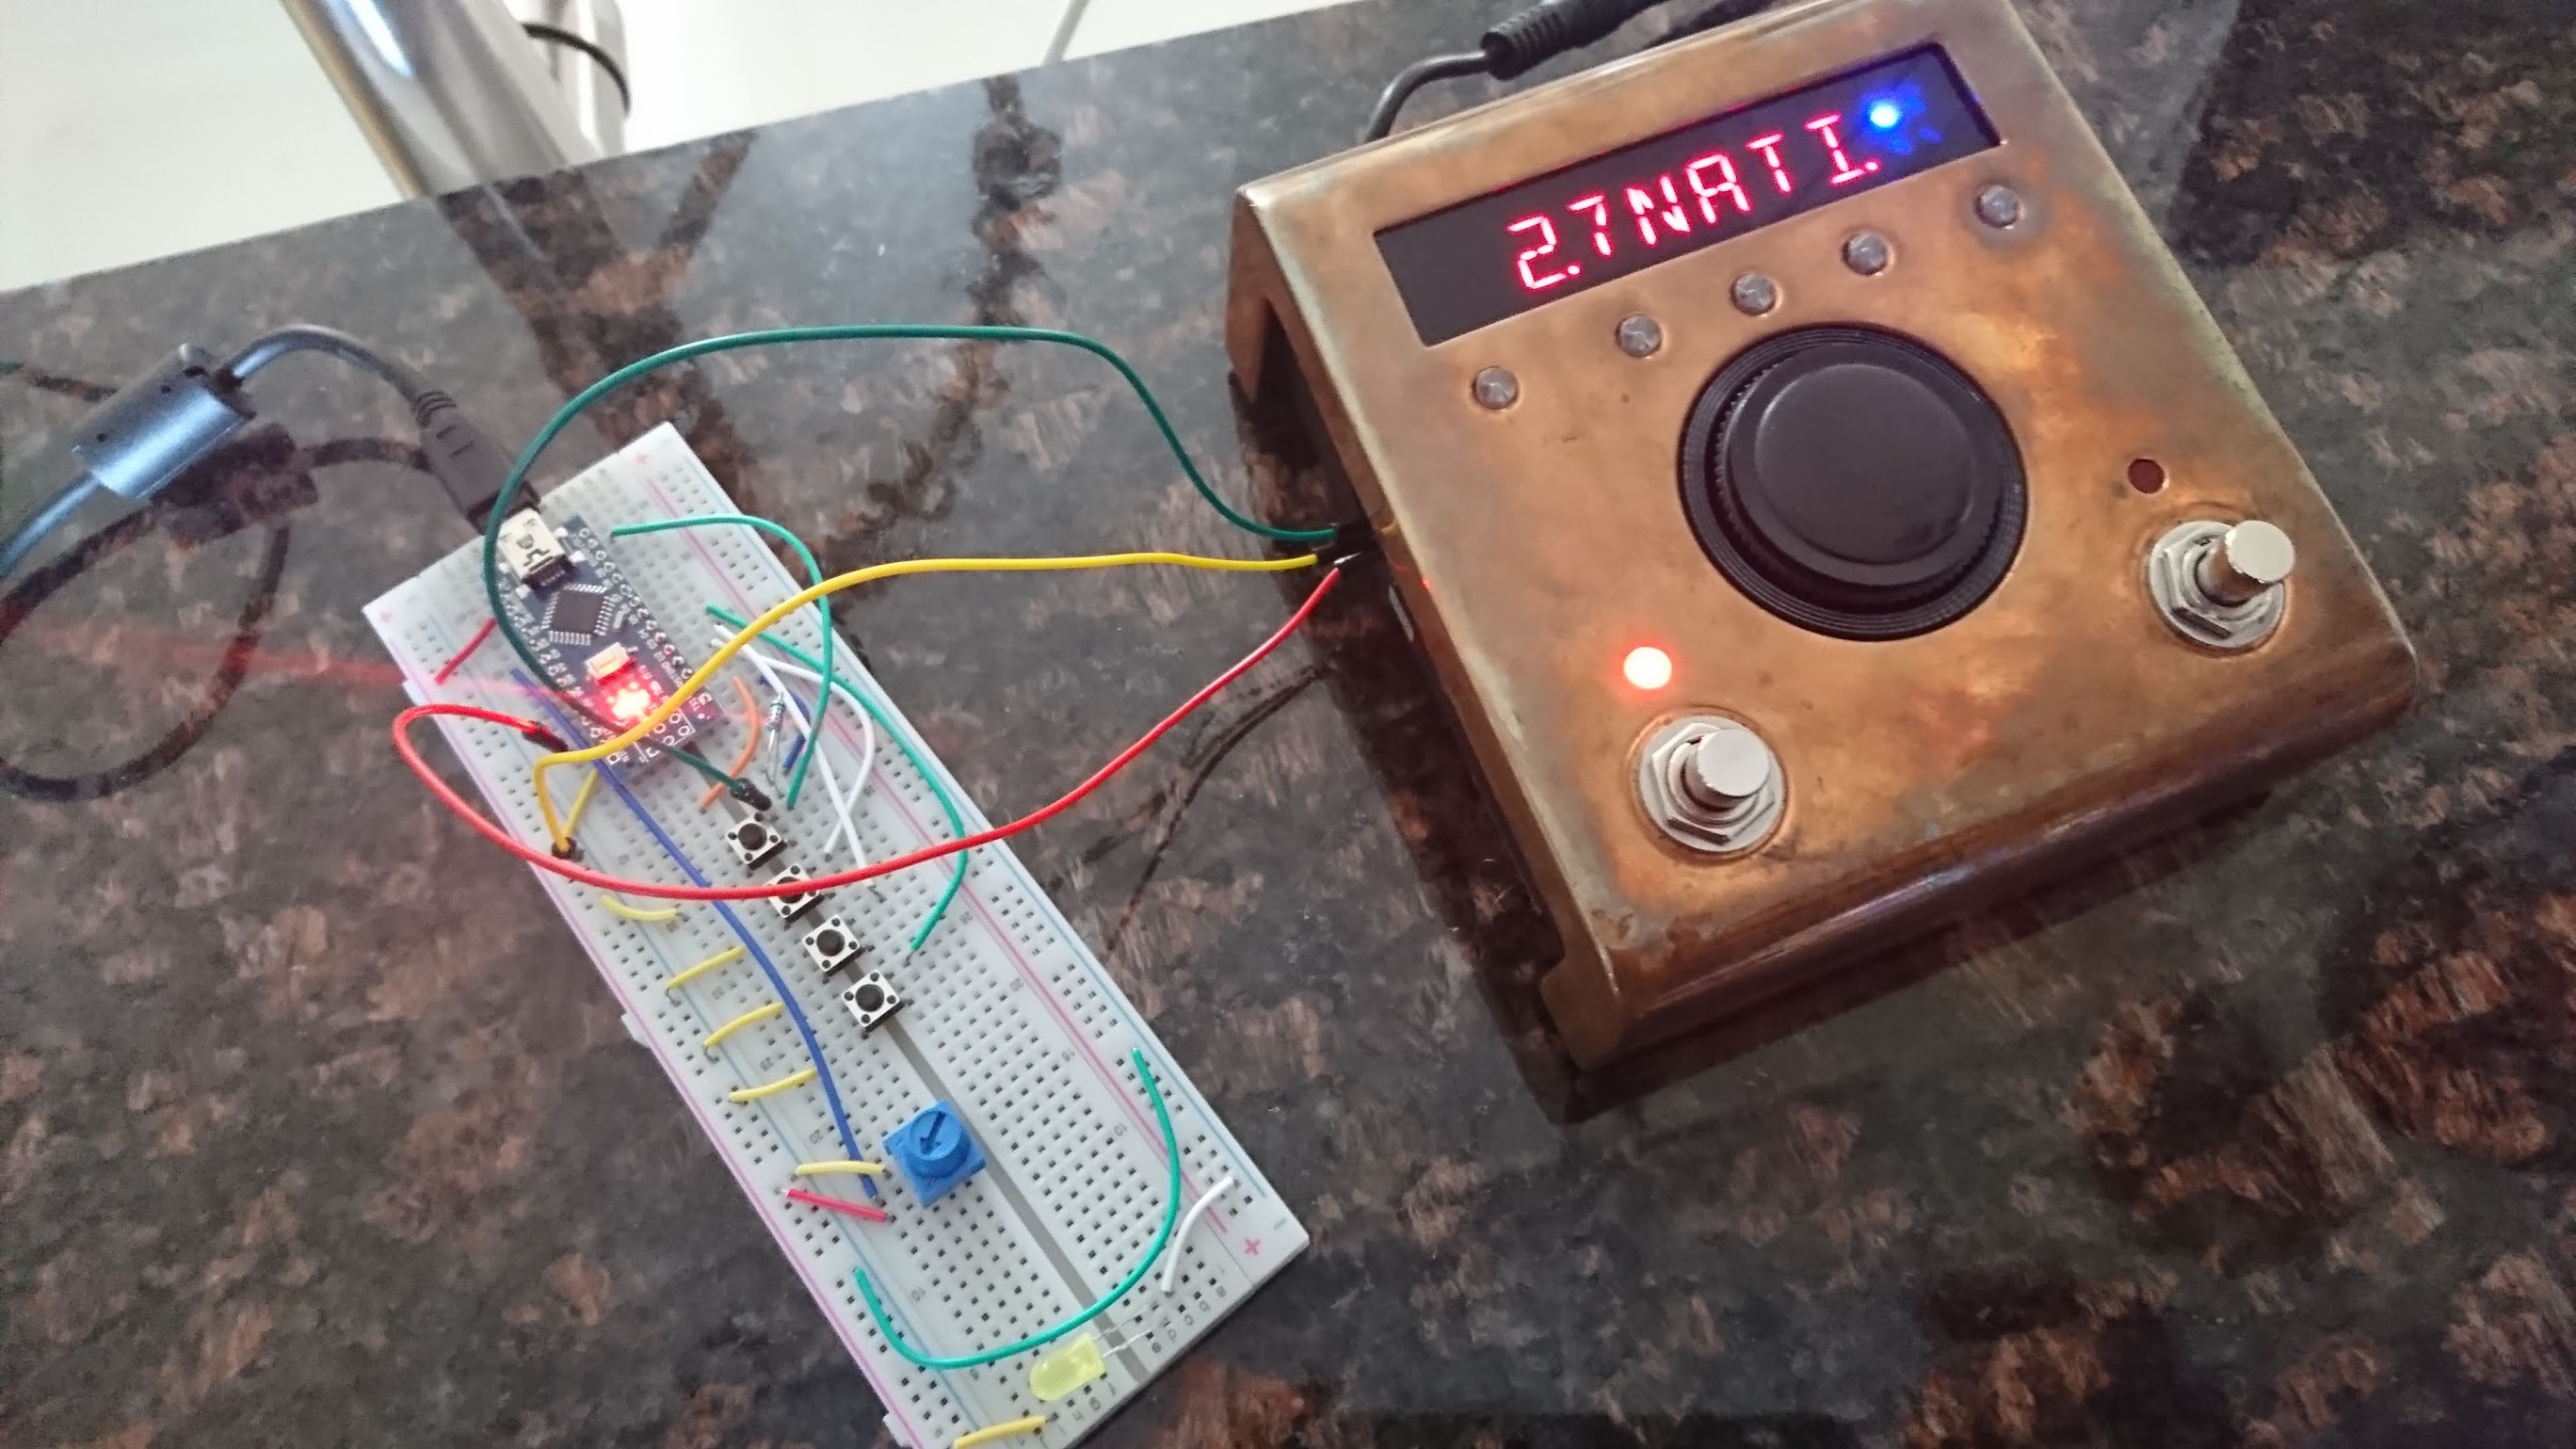
I did this with parts laying around just to see if I could.
It is an array of footswitches (up to 11?) that can all send a PC or CC message. I have it set up so pins 2-9 send PC messages 2-9, and pins 10-12 send CC toggles on #16, 17, and 18.
I would set this up with 1-7 switches calling presets (or tuner or Bypass) using the PC pins, along with a CC button for the hotswitch or some other CC value you might like.
PARTS NEEDED:
(1) An enclosure. $5-10
(some) footswitches, momentary, NO $3/each
(1)An Arduino NANO clone – $4.00
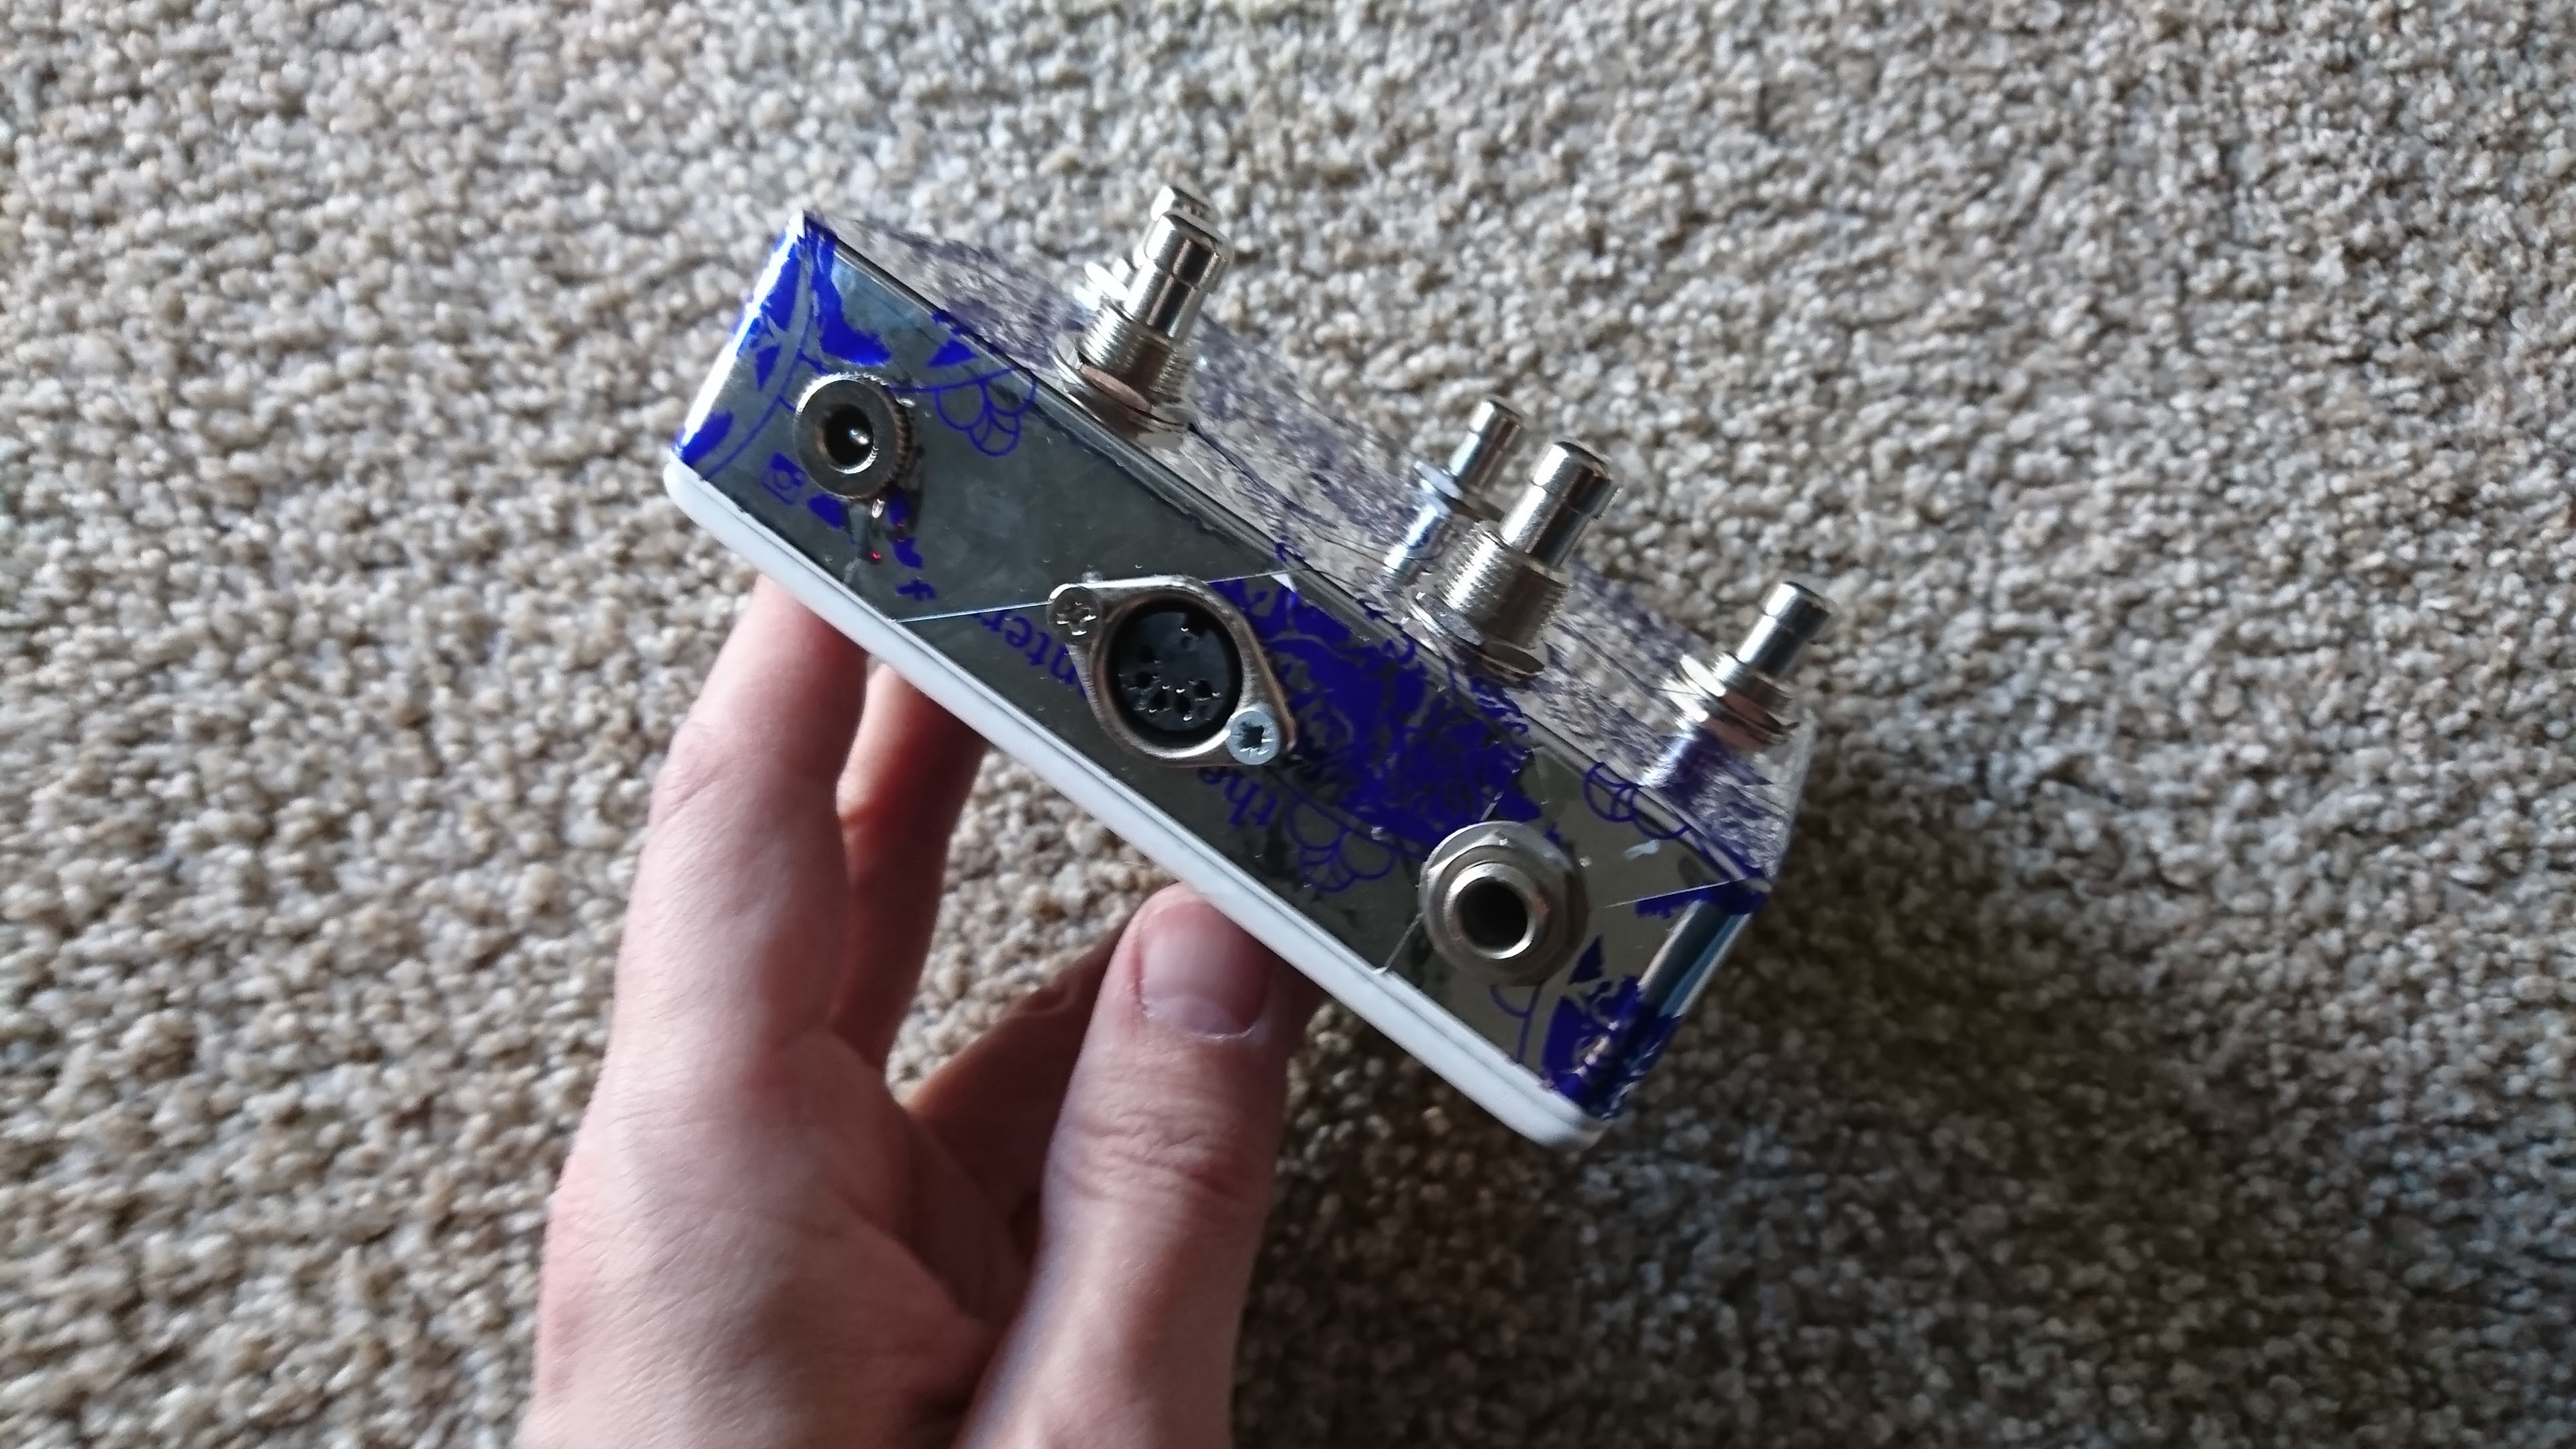
(1) a power jack. – $1
(1) midi connector (or you could scavenge a wire and direct-wire it) ($2.00)
(1) 220Ohm 1/4watt resistor – $0.25
(1) midi cable
TOOLS NEEDED:
A Soldering Iron
A drill
A few hours time.
Here are some pics of the build,though you can build this however you like.
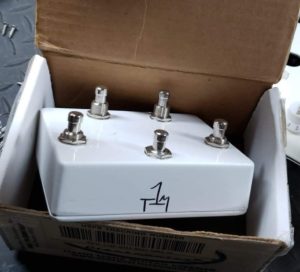
I got this analog 5-button switch used, but it was just for the parts.
Obviously take the thing apart. Finish as Desired, Etc.
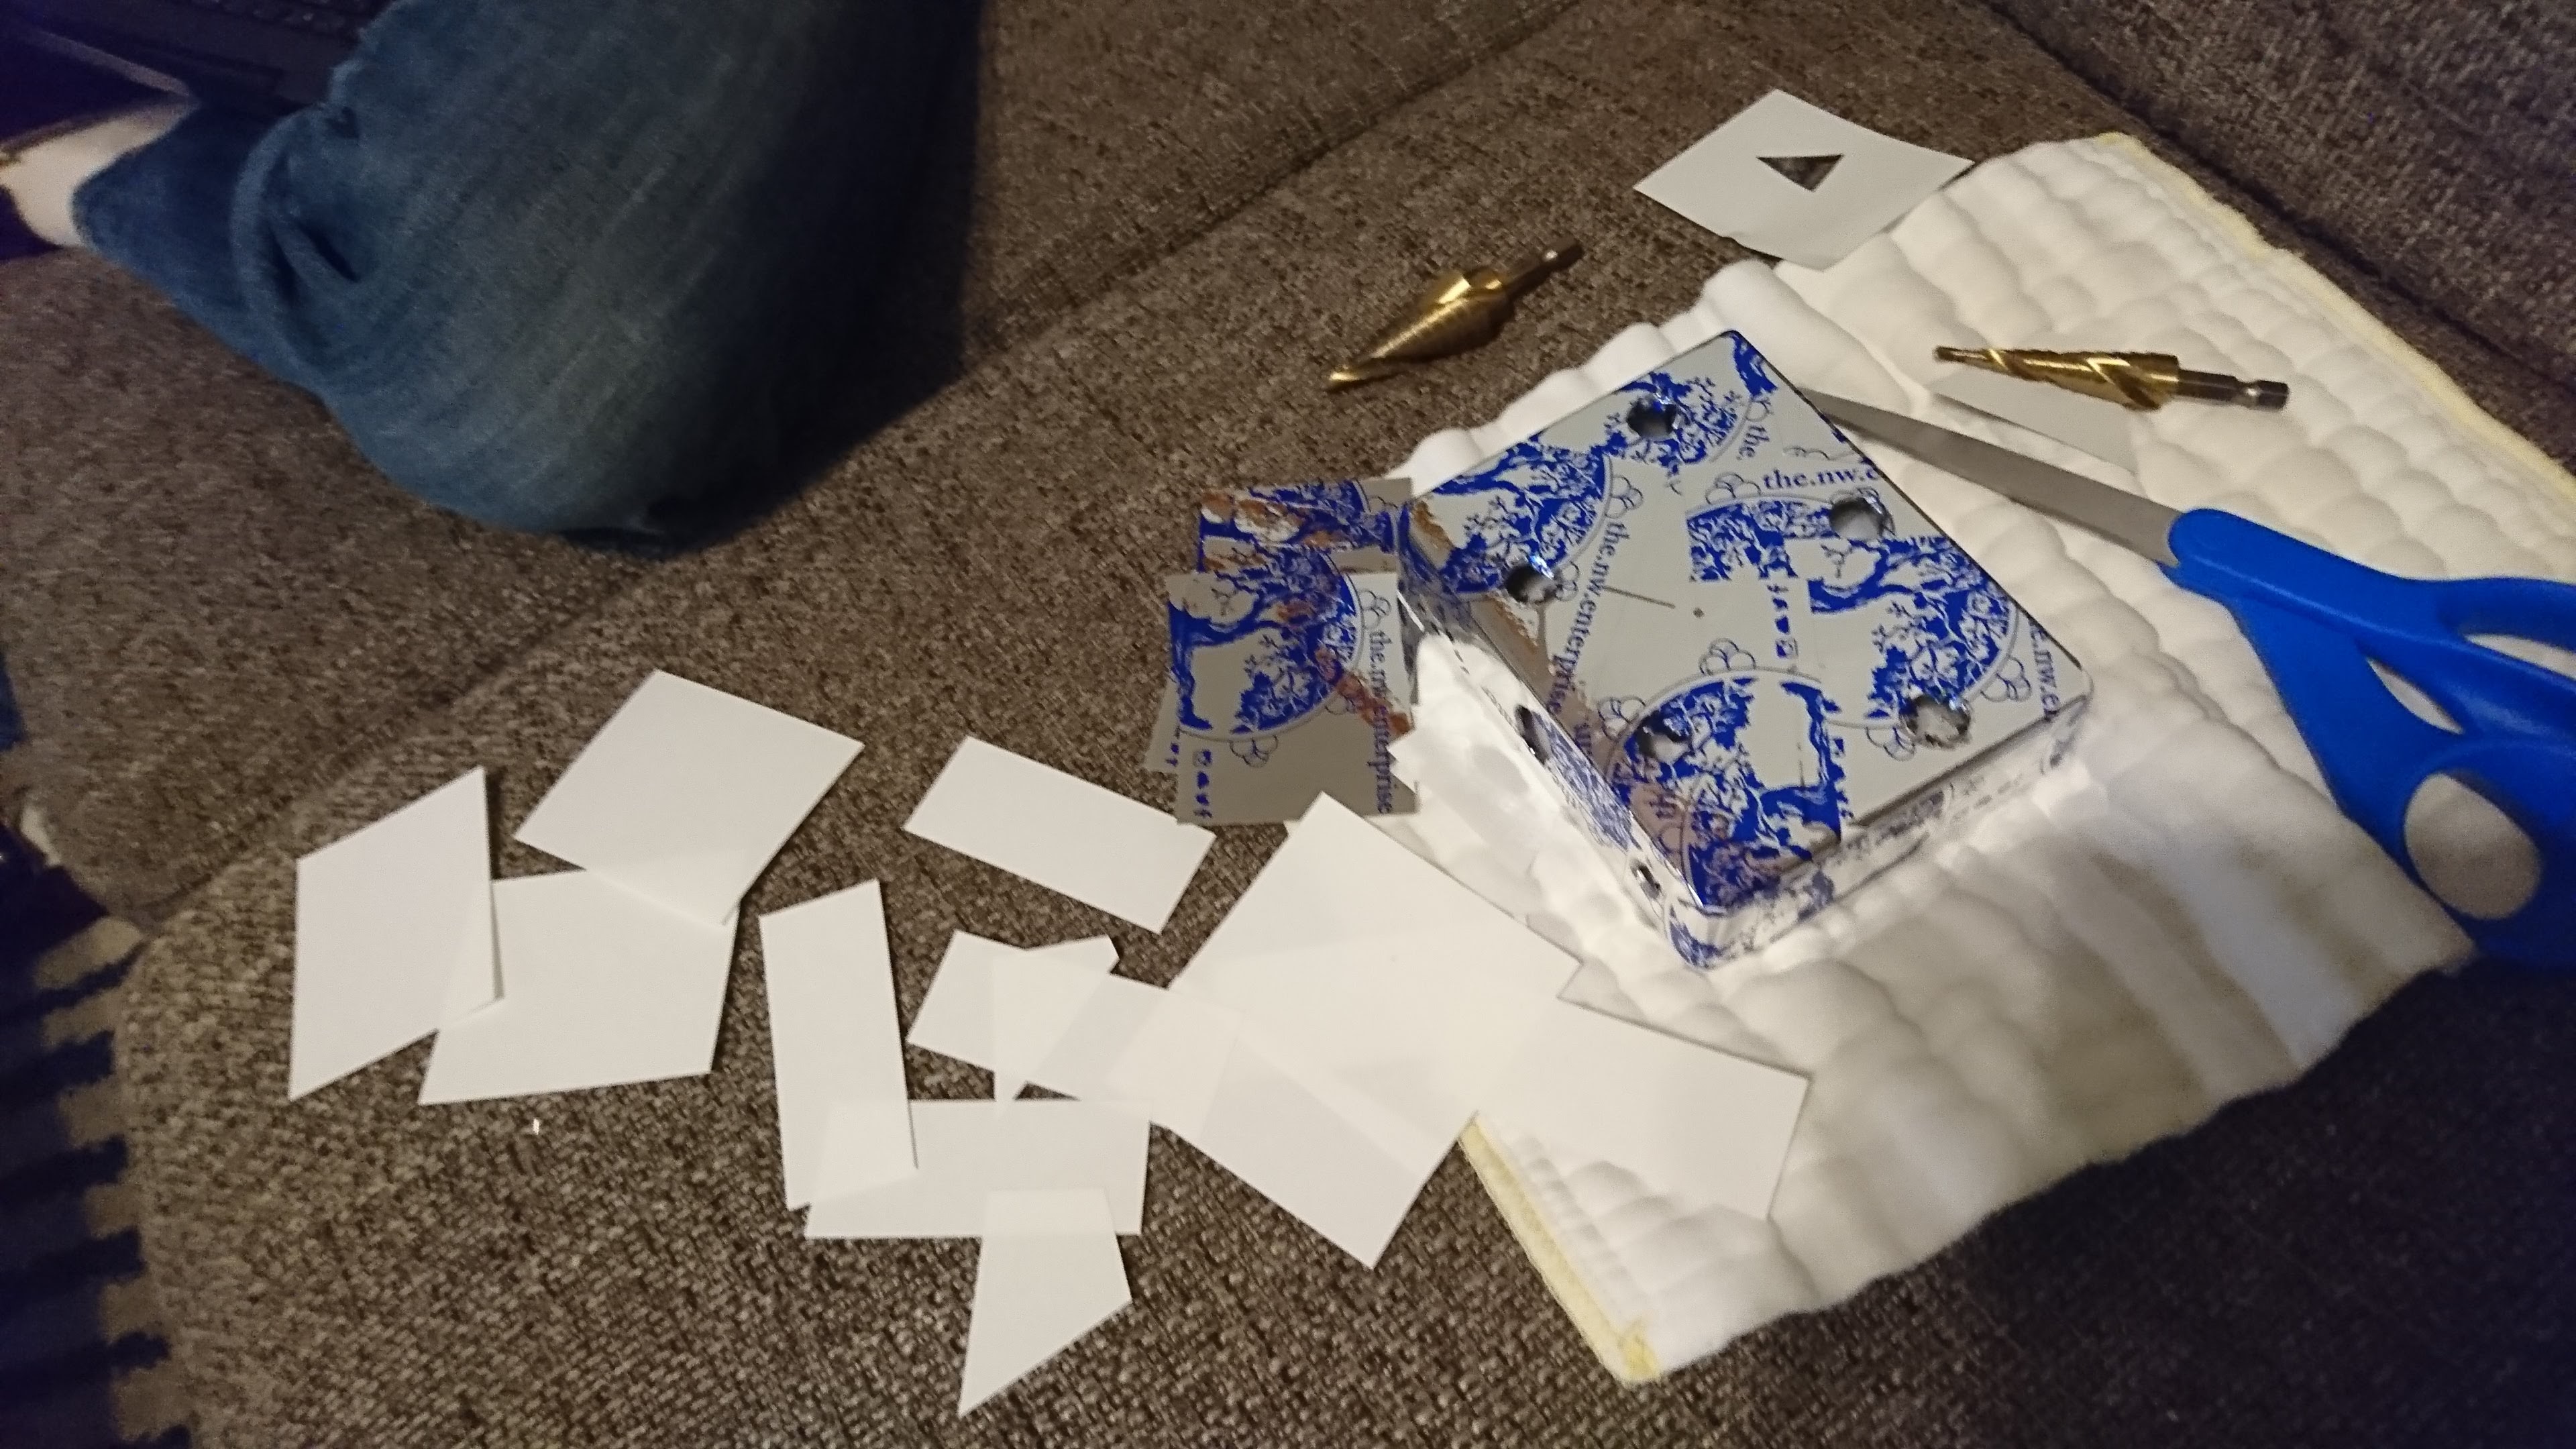
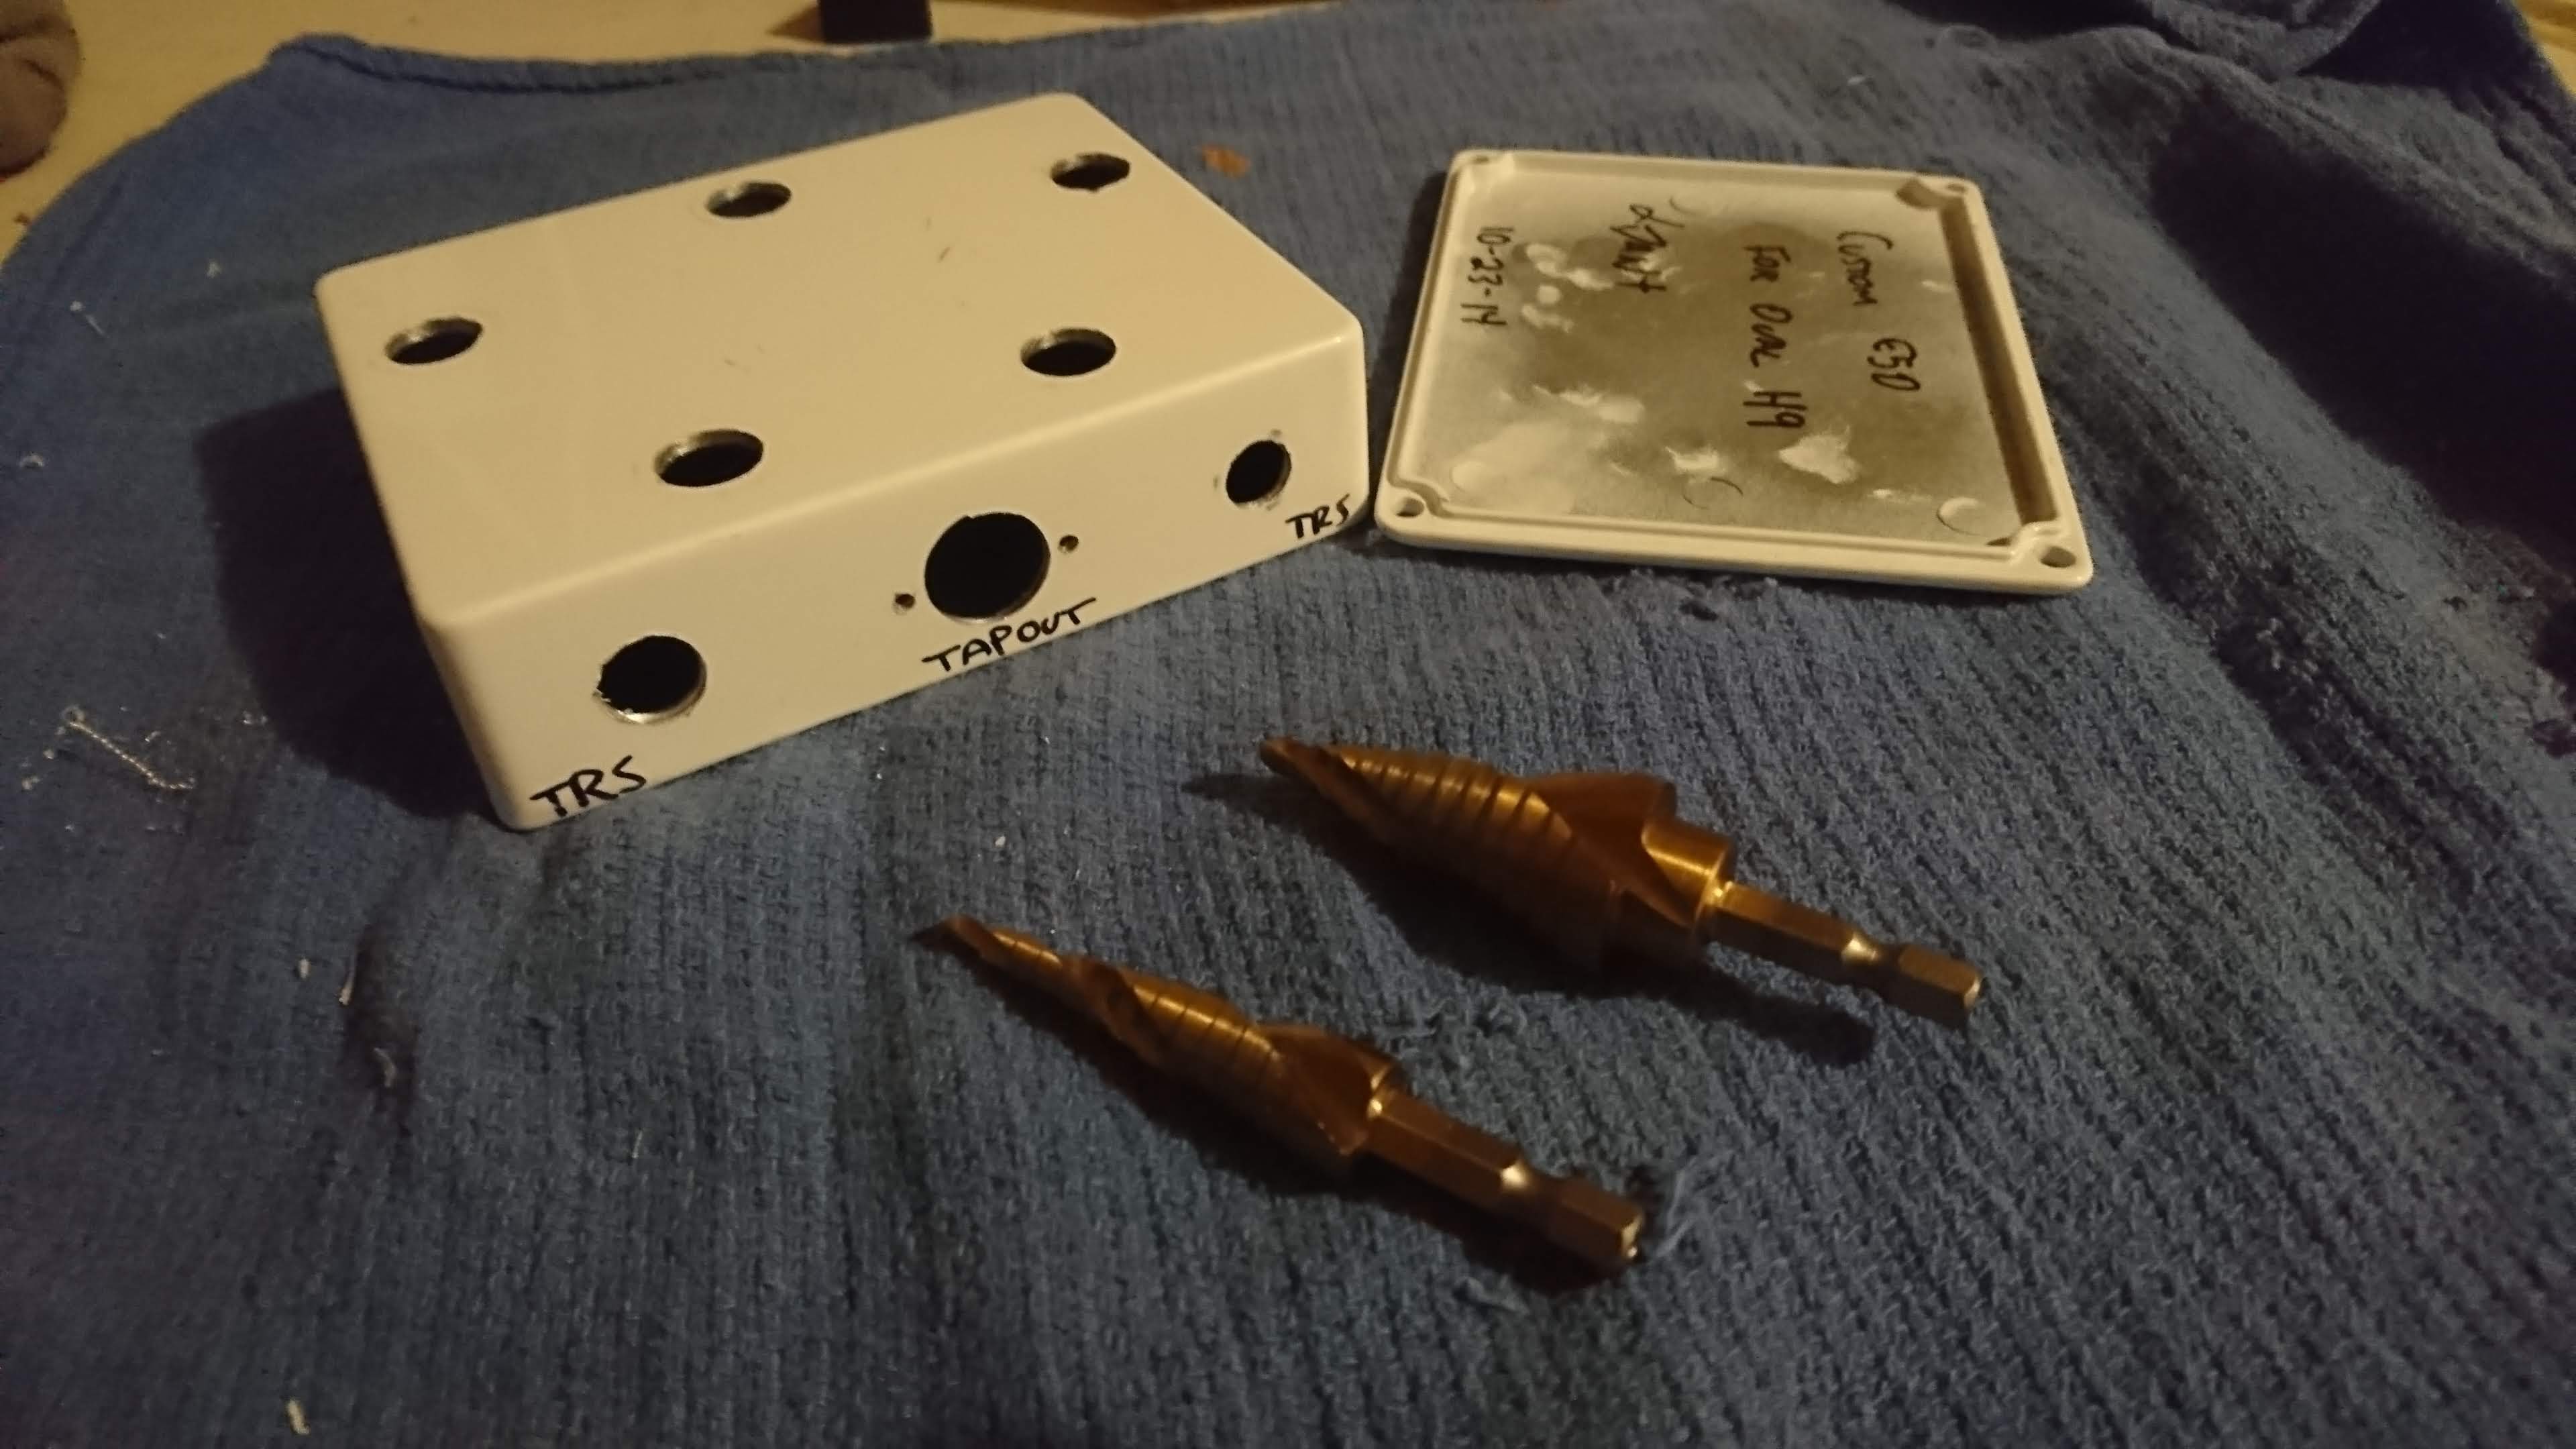 You need to drill the holes, if they aren’t perfect already. A STEP BIT is really, really better than any other way.
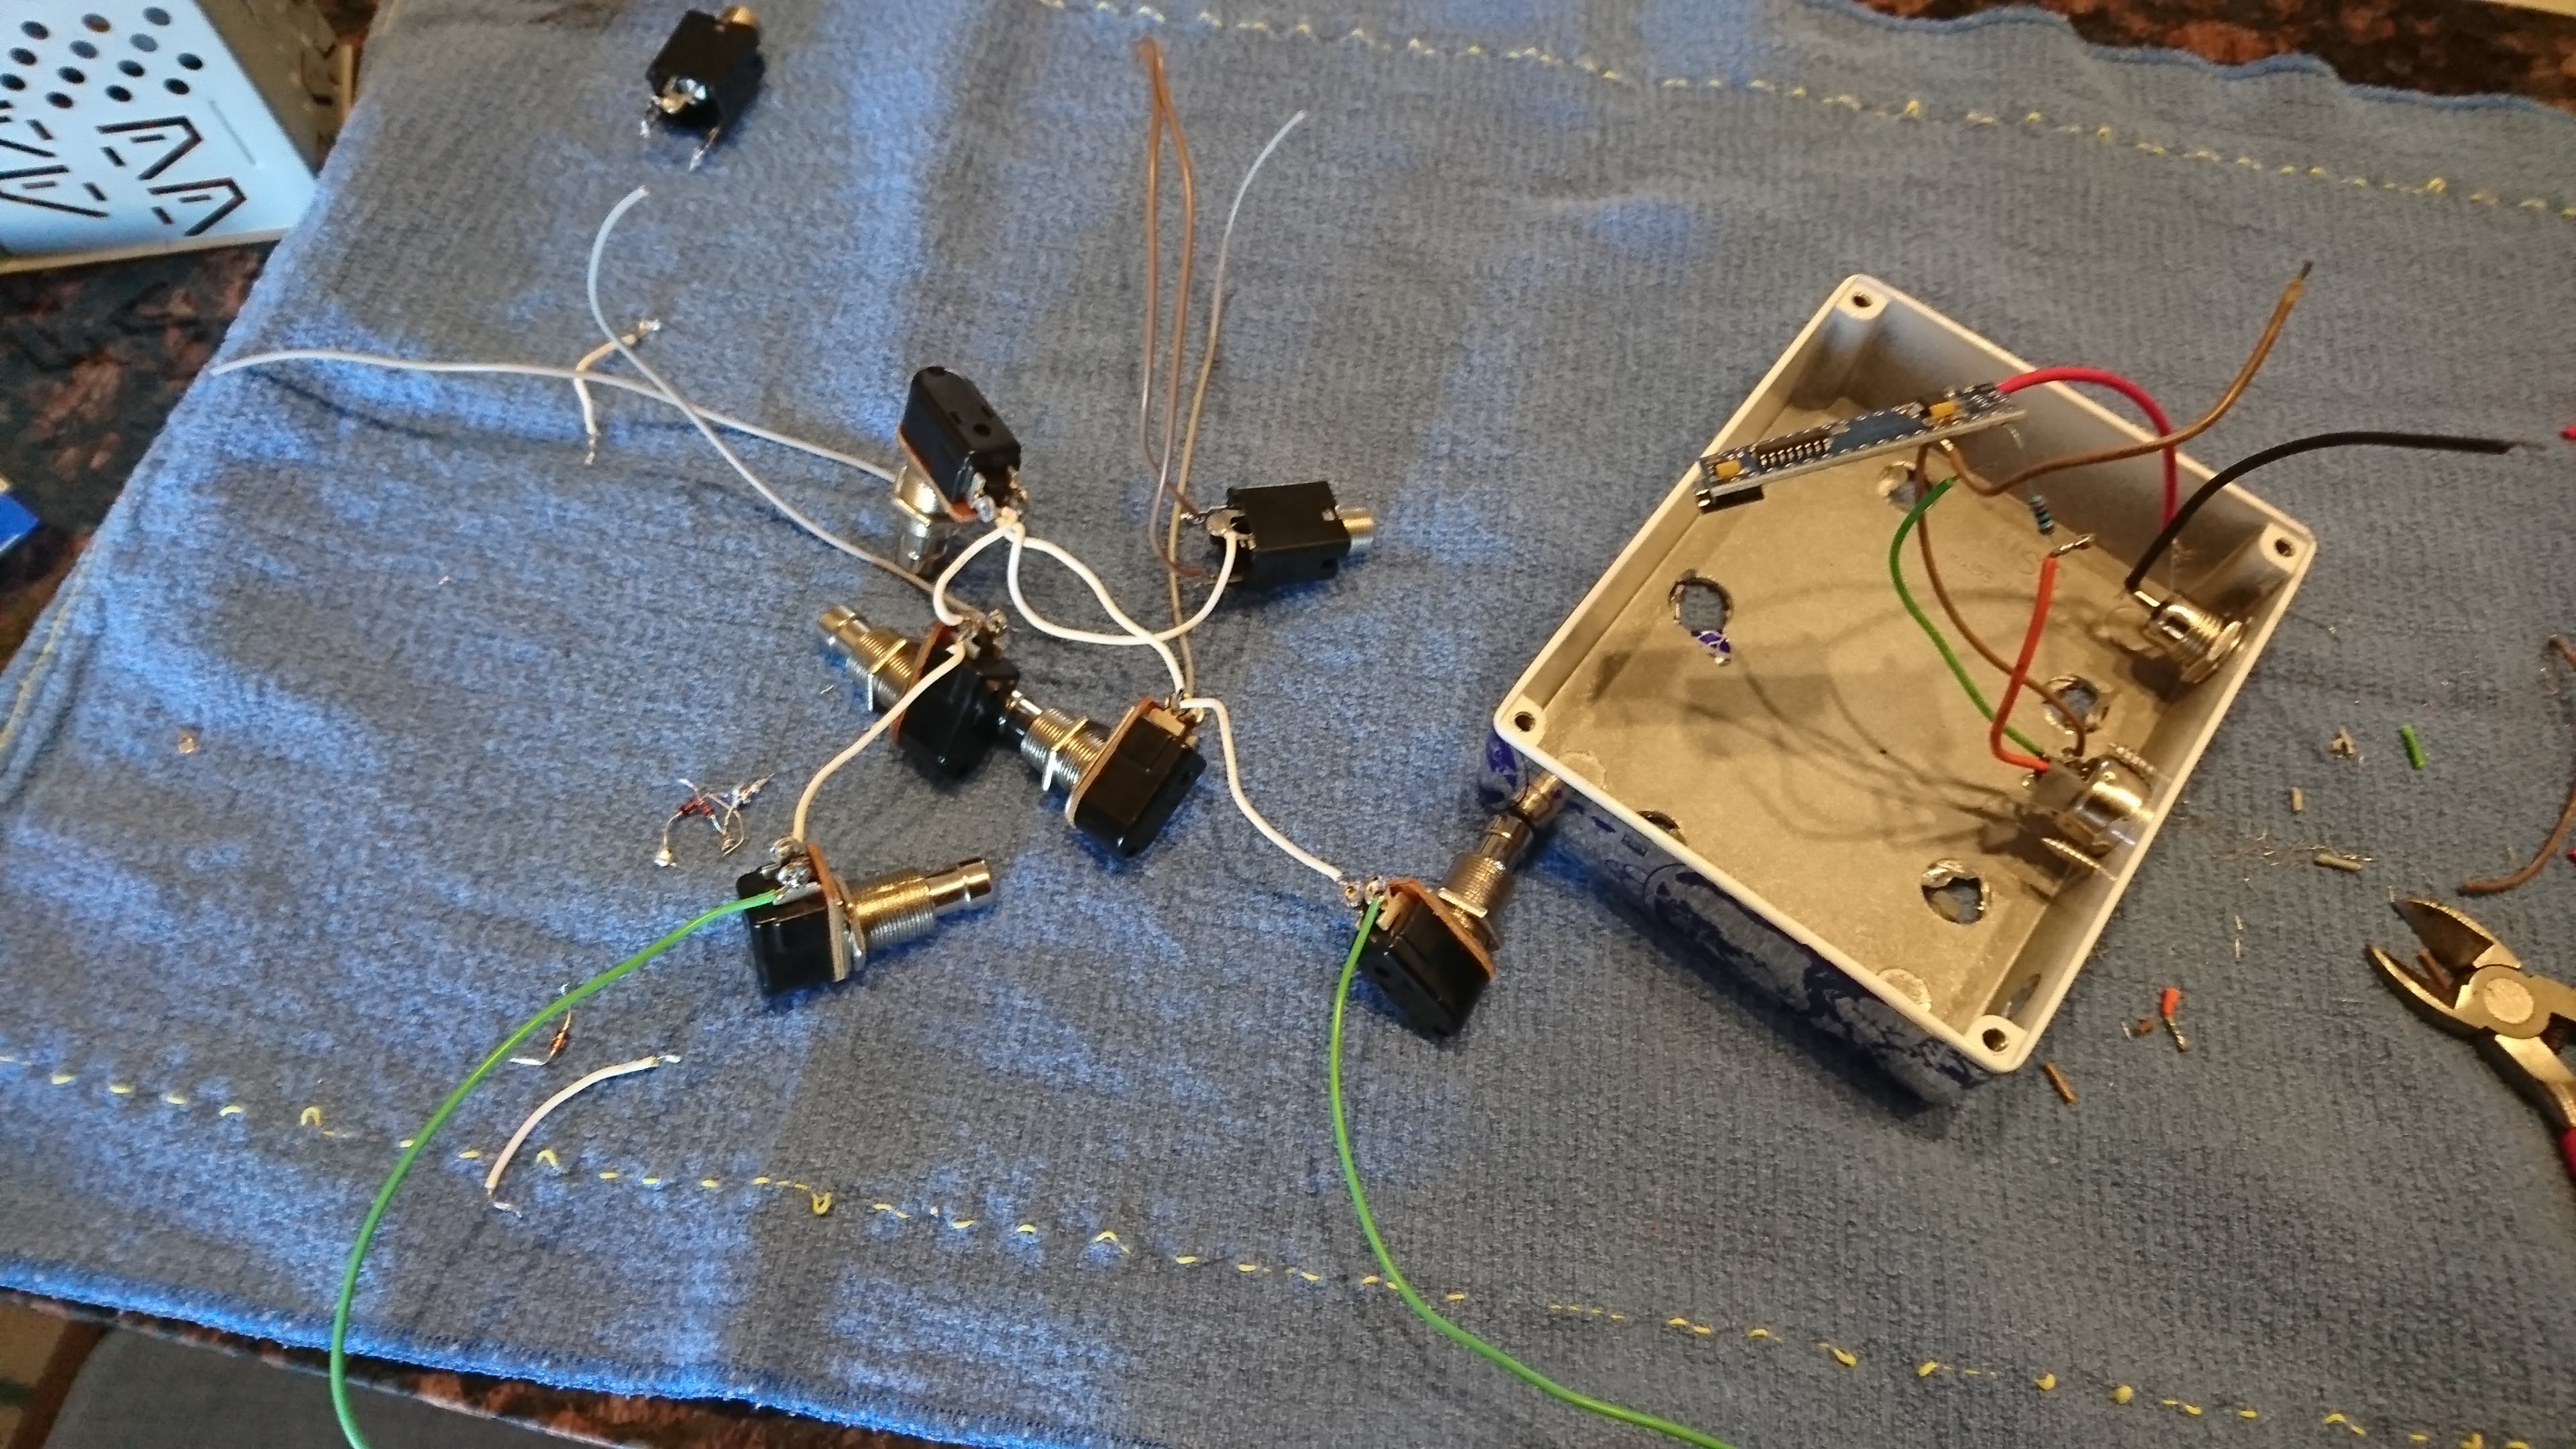
Take it apart. Wire the switches.
I covered it in Stickers, cuz I’m lazy.
Then wire the board
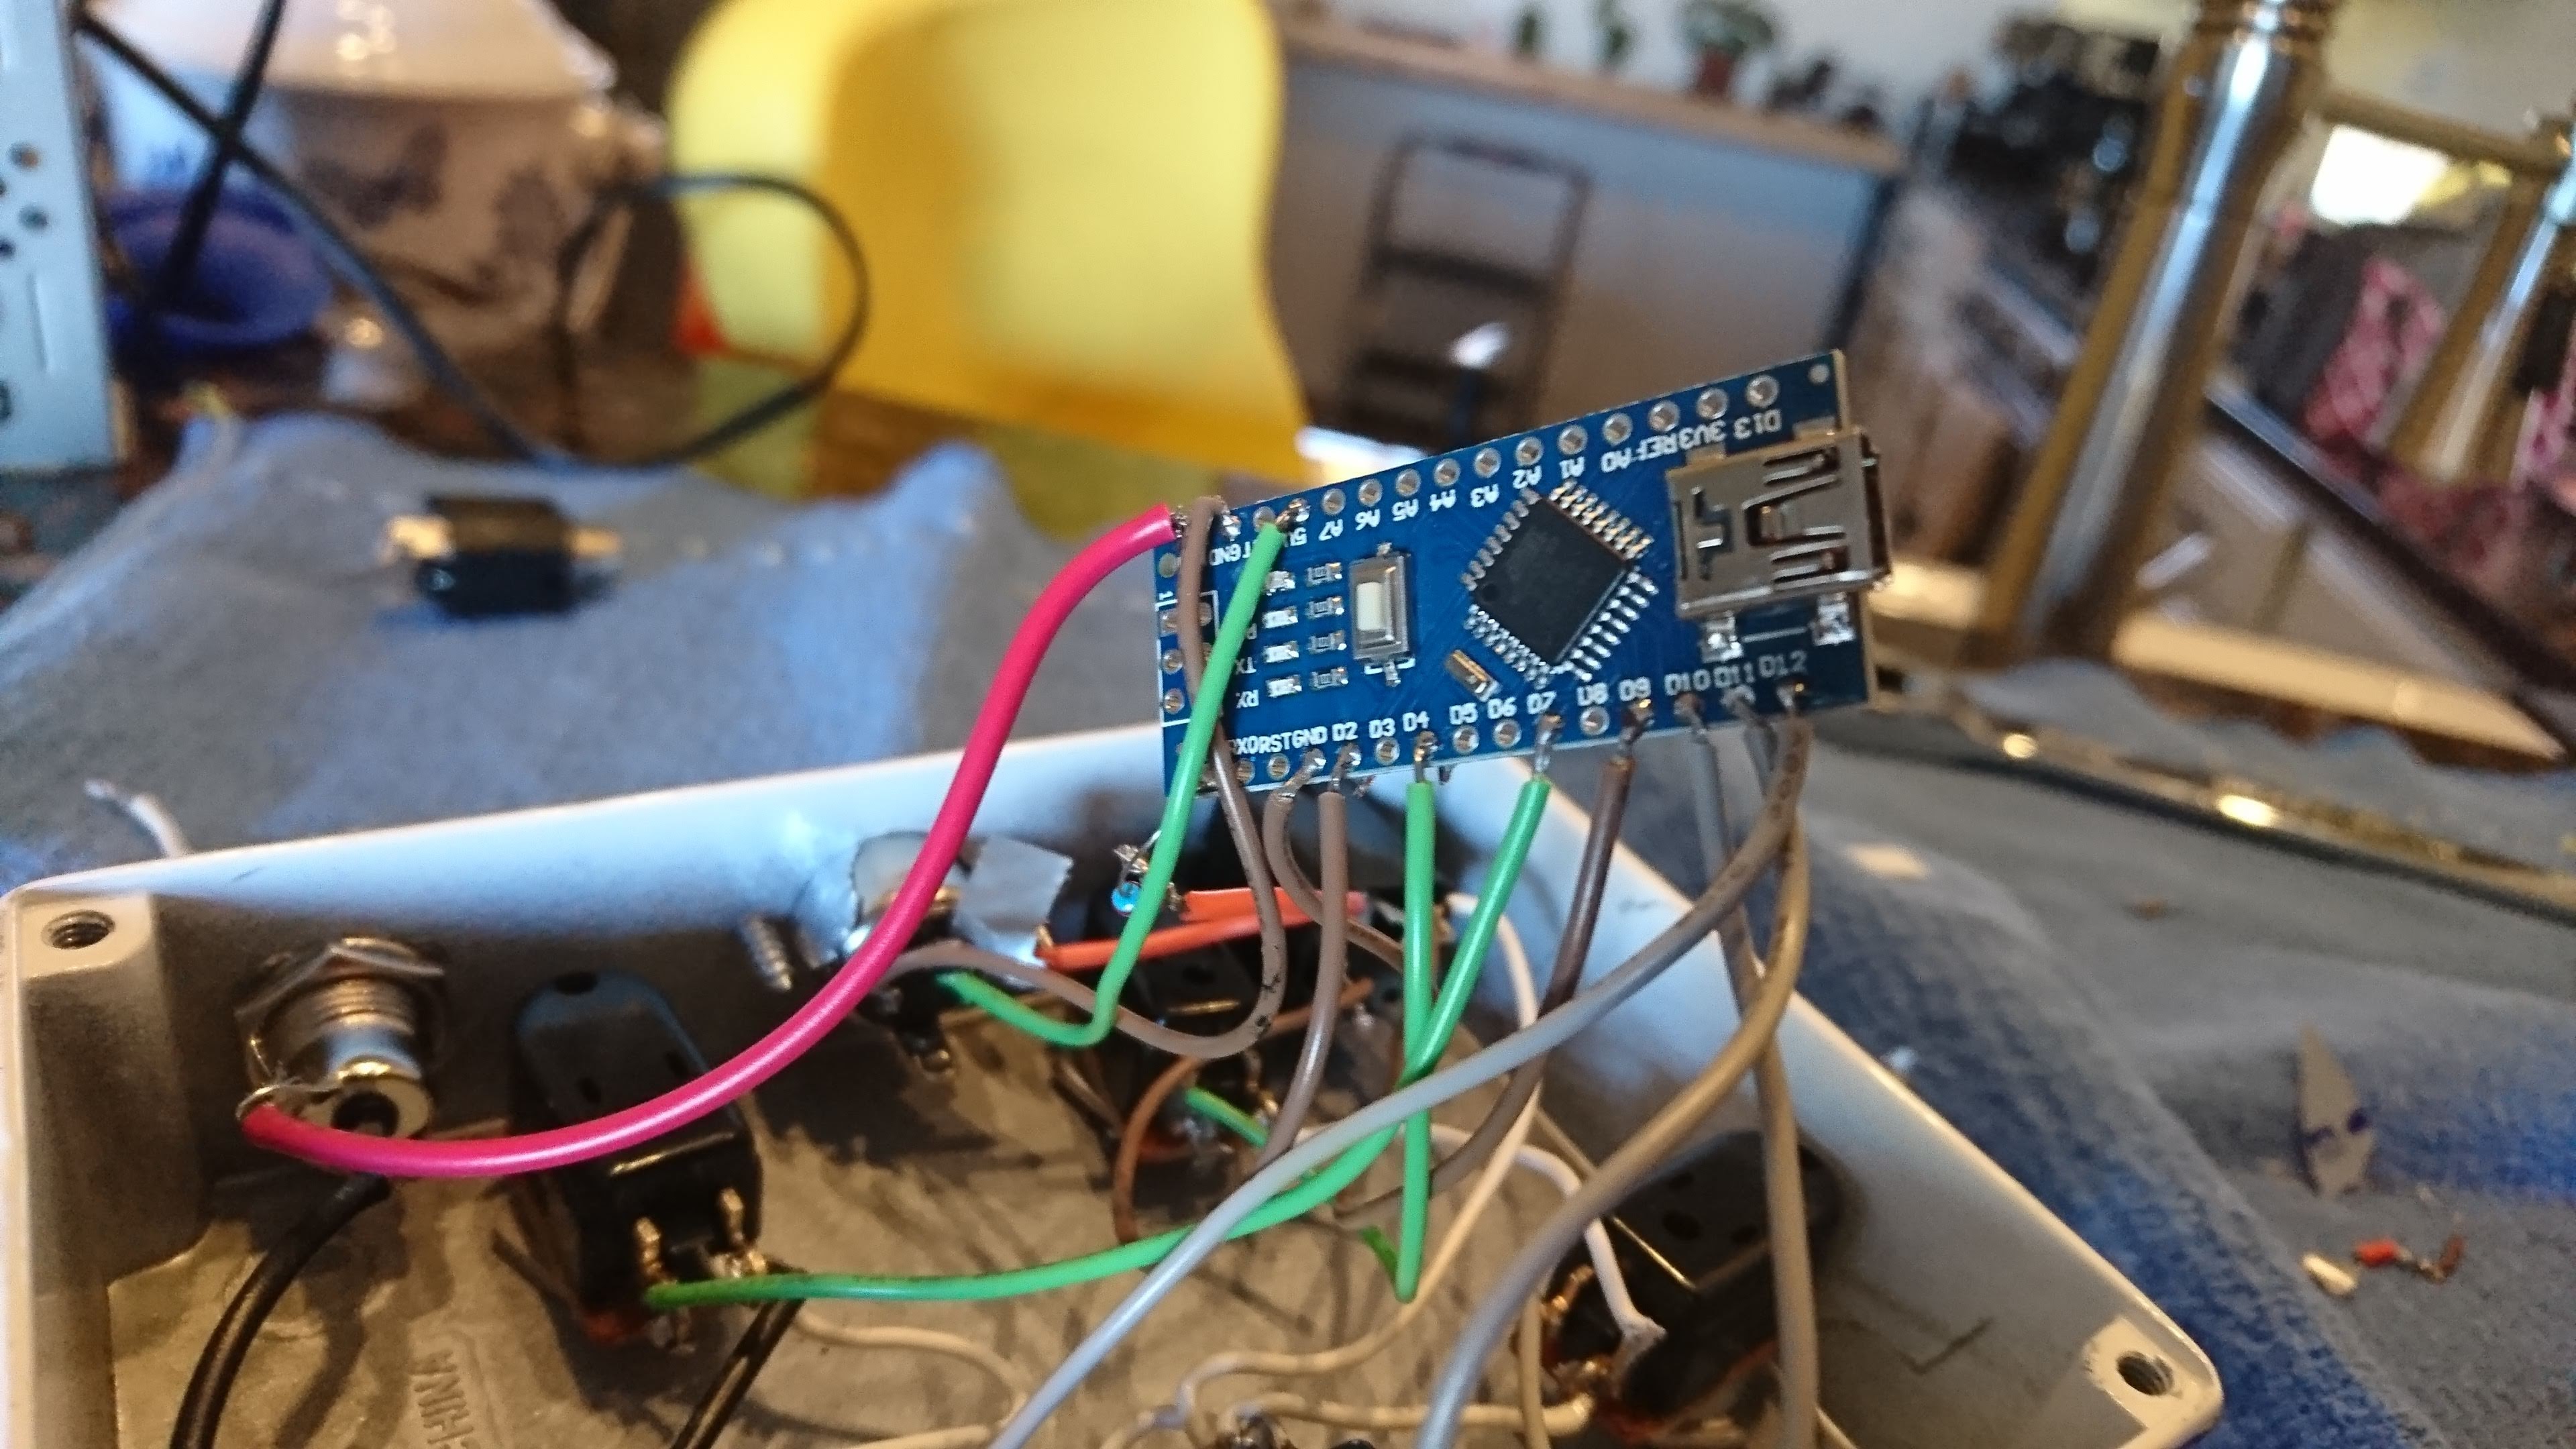
How do you wire it? Like so
PC Firing Footswitches:
Pins 2-9 on one side, Ground on the other
CC Firing Switches:
Pins 10-12 on one side, ground on the other
Arduino TO MIDI:
TX to 220Ohm Resistor to MIDI pin 5
Ground to PIN 2
5V Output from Arduino to Pin 4
Power Supply:
Postive to VIN on Arduino
Ground to Ground
Close up so you see it is easy:
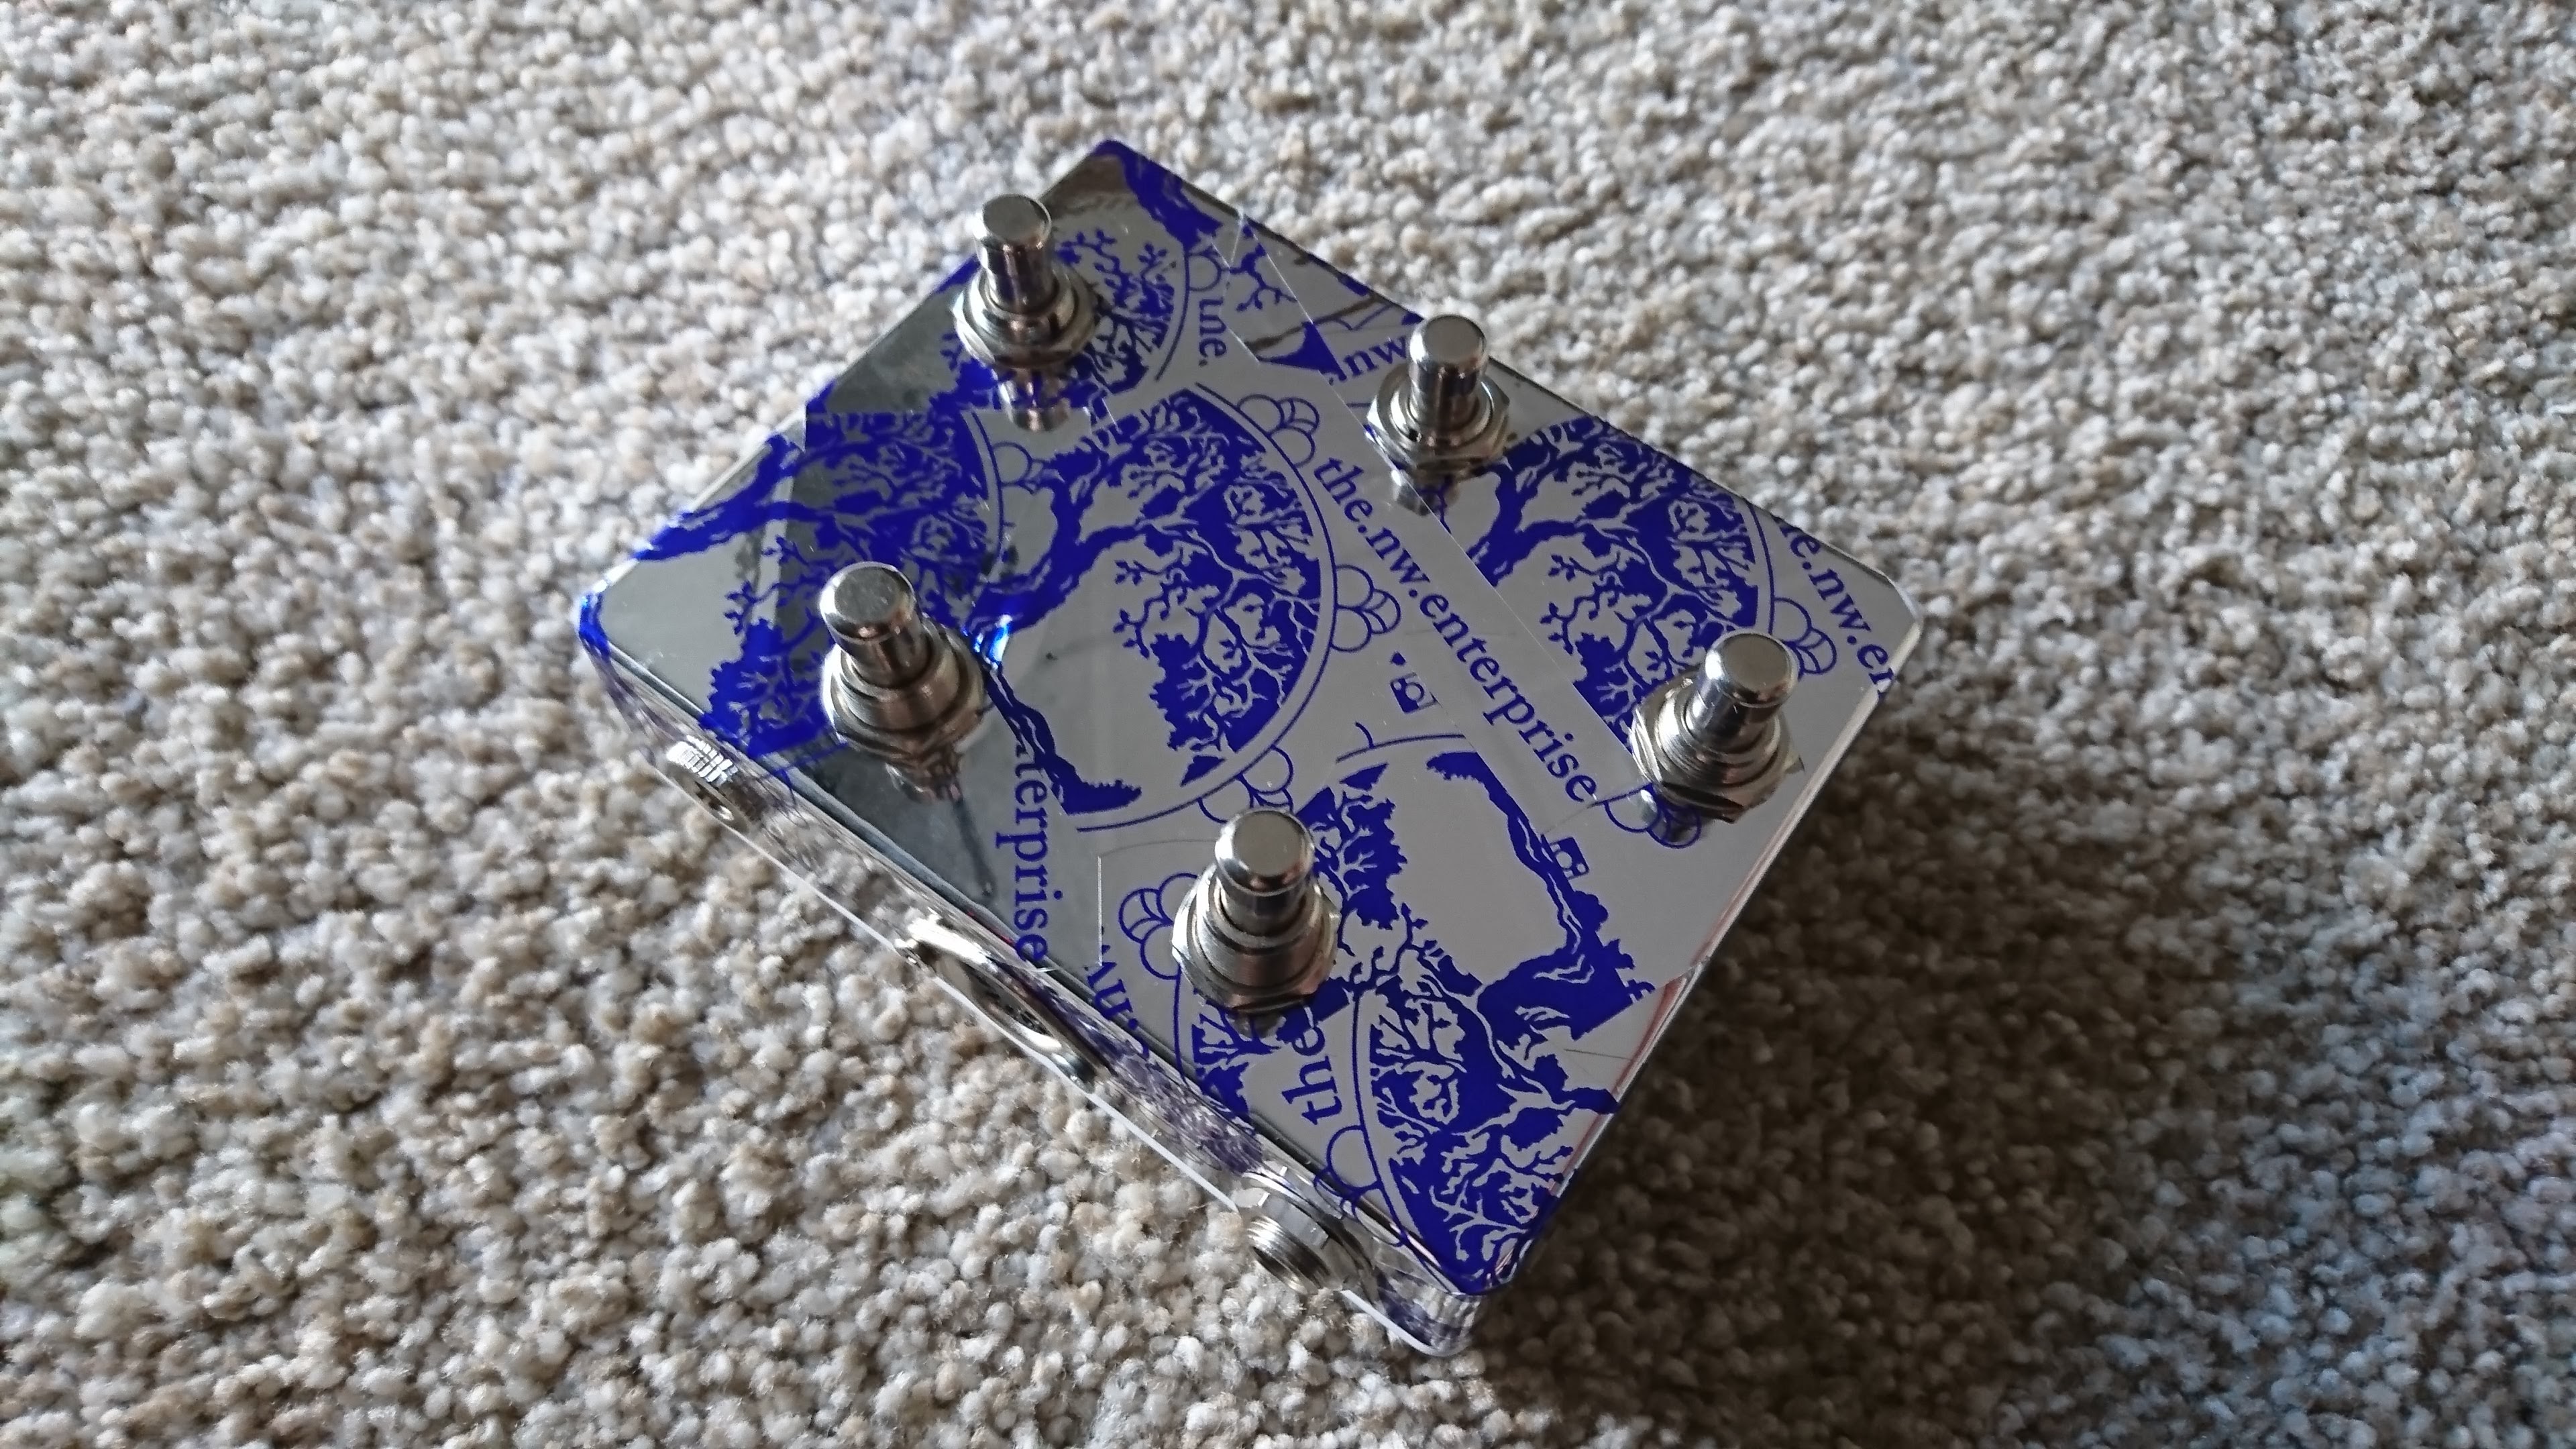
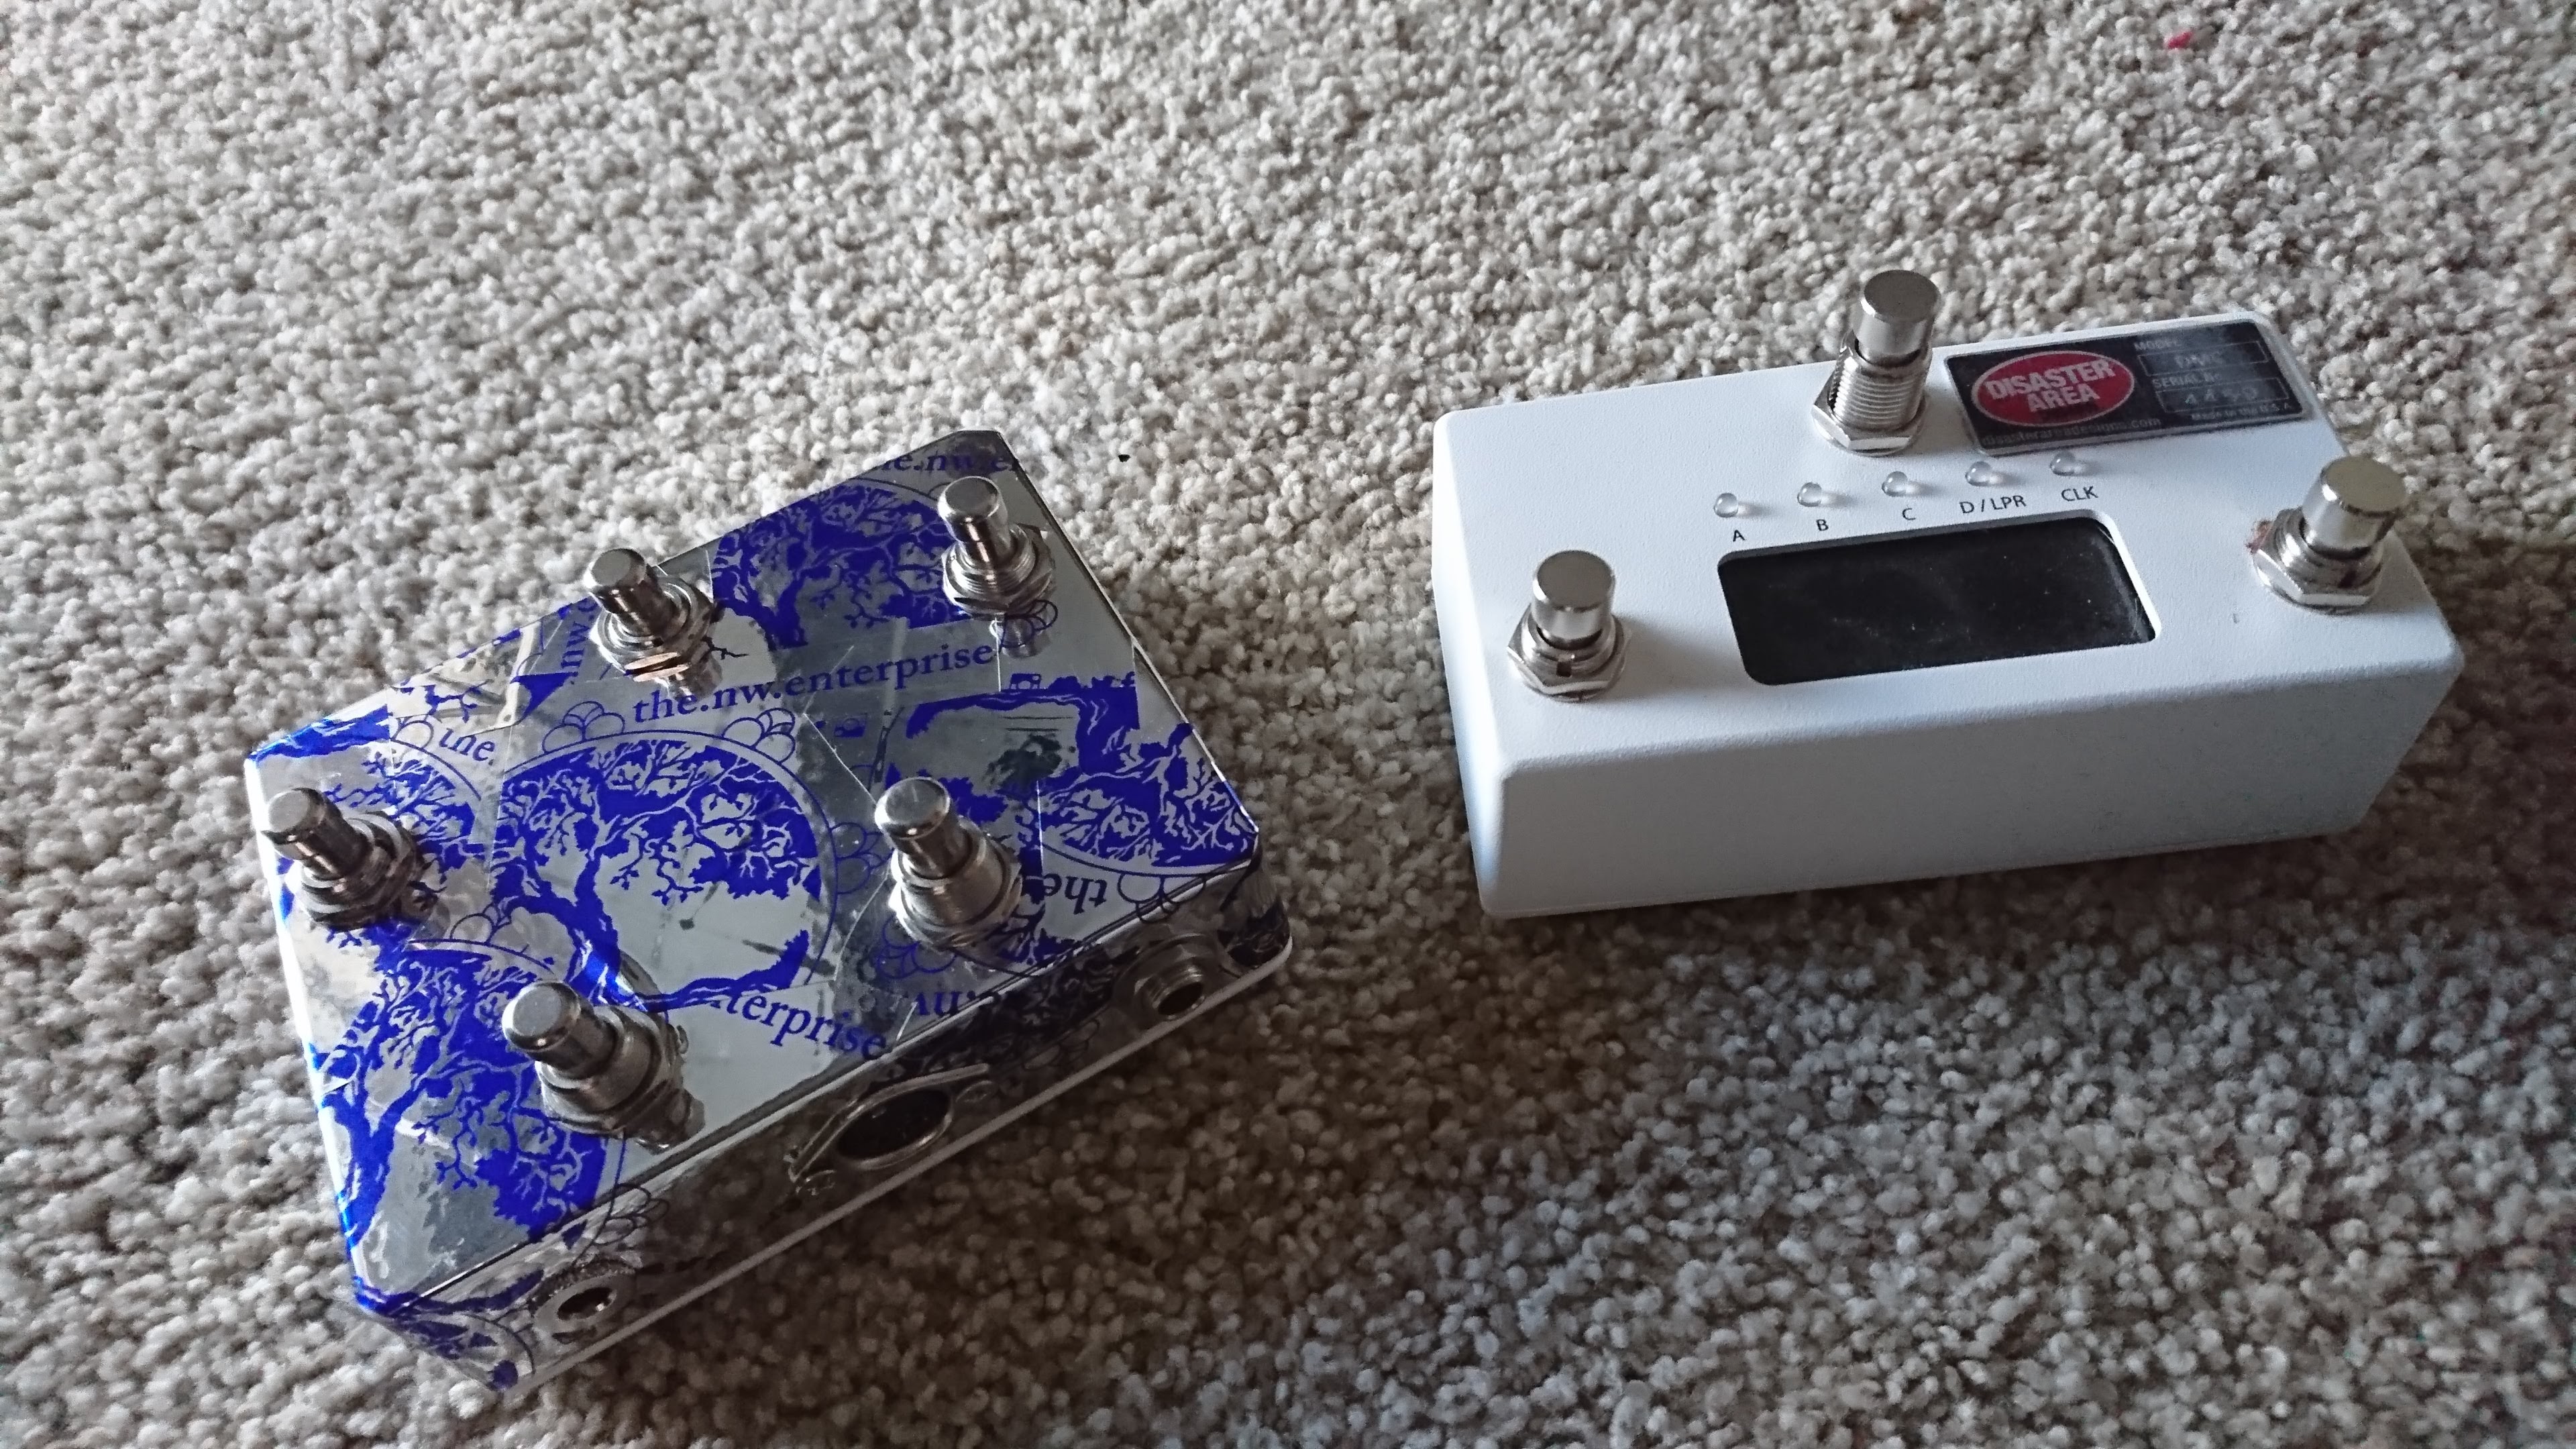
Here are some pics of the finished product, with a side-by-side to my DMX-3XL
Then, here is the code! I am no expert, so if it doesn’t work, troubleshoot it using google. It works on my rig!
//midi.controller for eventide H9
//by Cameron Newell @the.nw.enterprise, https://thenorthwestenterprise.com/
//Library Source https://github.com/tttapa/Control-Surface
//Built for Ardruino NANO

#include <Control_Surface.h> // Include the library

// Instantiate a MIDI interface
//USBDebugMIDI_Interface usbmidi(115200); // for serial monitor in ide
HardwareSerialMIDI_Interface serialmidi = {Serial, MIDI_BAUD}; //for normal operation

/* Instantiate PCButtons that read the inputs from a push button and sends out
a MIDI Program Change message when they are pressed.
Ex: pcBtn = {**PHYSICALPIN**, {MIDI_PC::**NAMEHERE**, CHANNEL_#},};
Must use PC name, reference here https://tttapa.github.io/Control-Surface-doc/Doxygen/da/da6/namespaceMIDI__PC.html
My setup matches PC to PIN Number
*/
PCButton pcBtn2 = {2, {MIDI_PC::Electric_Grand_Piano, CHANNEL_1},};
PCButton pcBtn3 = {3, {MIDI_PC::HonkyTonk_Piano, CHANNEL_1},};
PCButton pcBtn4 = {4, {MIDI_PC::Electric_Piano_1, CHANNEL_1},};
PCButton pcBtn5 = {5, {MIDI_PC::Electric_Piano_2, CHANNEL_1},};
PCButton pcBtn6 = {6, {MIDI_PC::Harpsichord, CHANNEL_1},};
PCButton pcBtn7 = {7, {MIDI_PC::Clavi, CHANNEL_1},};
PCButton pcBtn8 = {8, {MIDI_PC::Celesta, CHANNEL_1},};
PCButton pcBtn9 = {9, {MIDI_PC::Glockenspiel, CHANNEL_1},};

/*Hotswitch or other cc function
Will fire 127 on press and 0 on release. Use a momentary switch, like the others.
Assicn CC number from here:
https://tttapa.github.io/Control-Surface-doc/Doxygen/d4/dbe/namespaceMIDI__CC.html
https://www.midi.org/specifications-old/item/table-3-control-change-messages-data-bytes-2
Default is cc#16, 17 and 18
*/
CCButton button10 = {10, {MIDI_CC::General_Purpose_Controller_1, CHANNEL_1},};
CCButton button11 = {11, {MIDI_CC::General_Purpose_Controller_2, CHANNEL_1},};
CCButton button12 = {12, {MIDI_CC::General_Purpose_Controller_3, CHANNEL_1},};

void setup() {
Control_Surface.begin(); // Initialize Control Surface
}

void loop() {
Control_Surface.loop(); // Update the Control Surface
}