
This is a little new, in that it is using the USB interface, and a Teensy board. It also compiles just fine on a Arduino Pro Micro.
This sends a generic CC message to your DAW. It shows up as a class compliant MIDI controller, and you can use it for whatever.
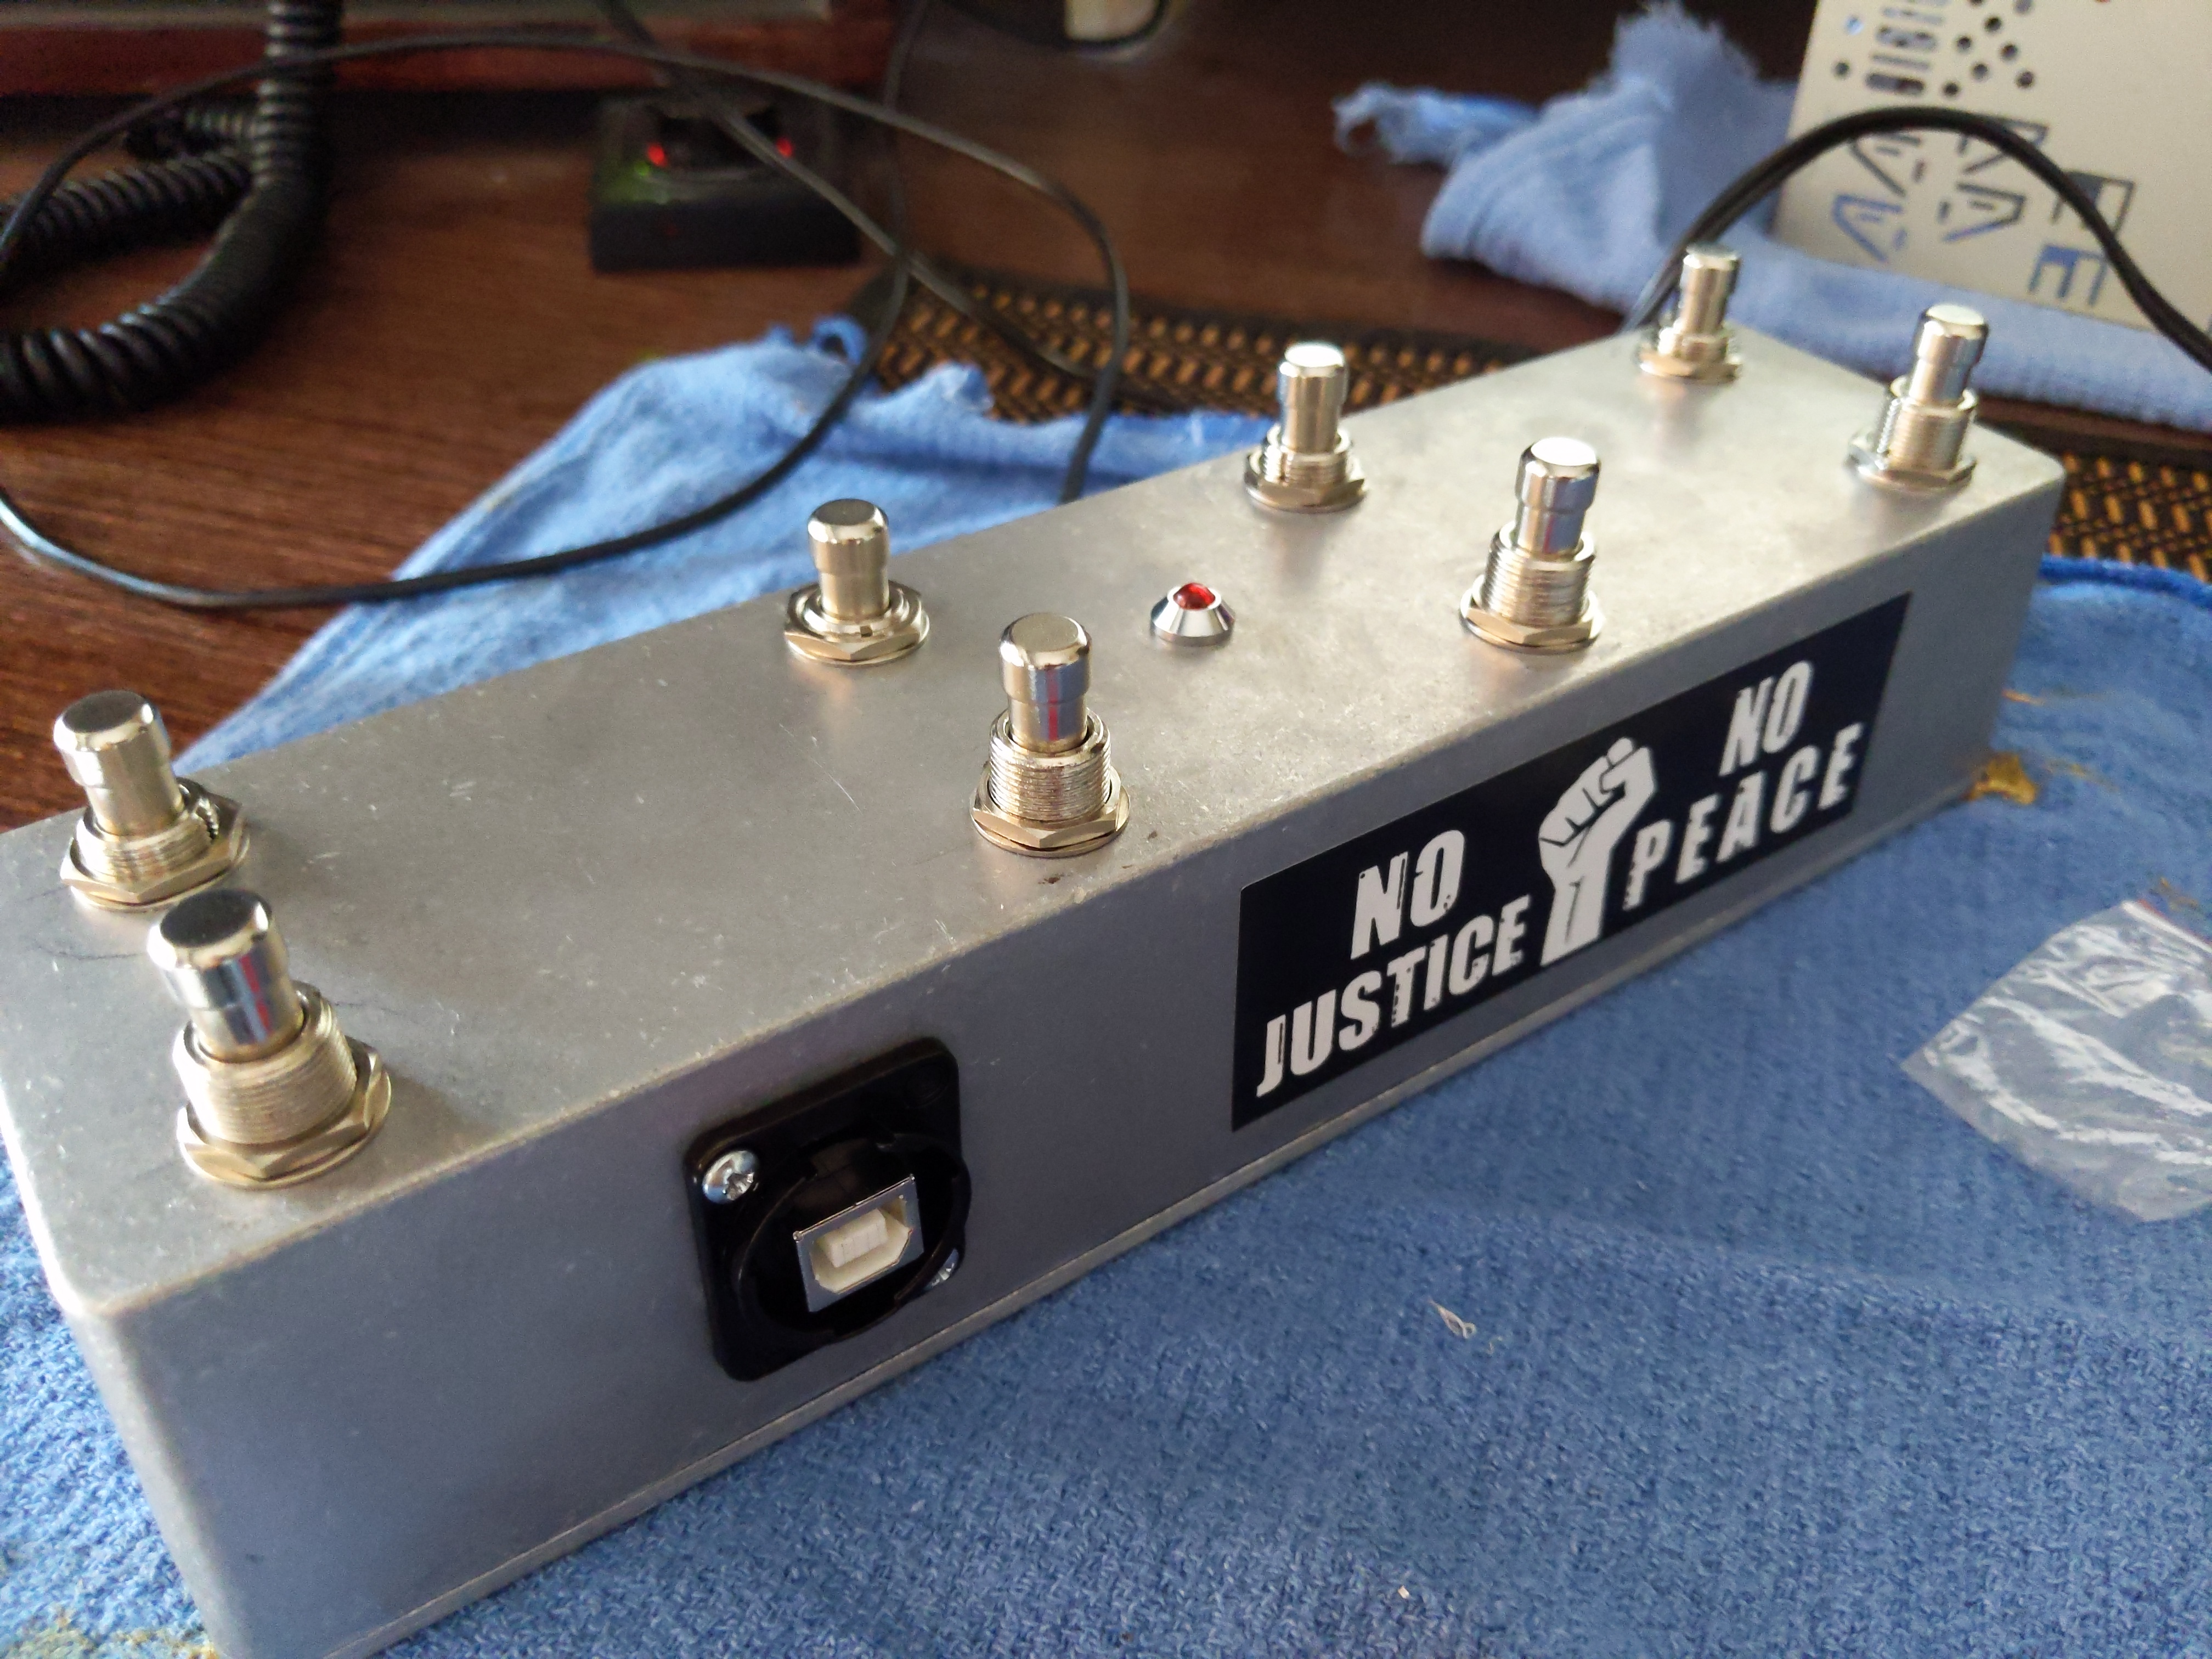
It is a little more expensive in parts… that is mostly because it is big. But the switchcraft EHUSBBAX I used for USB was really NICE. it is super heavy duty and will never fail. There are plastic ones for cheaper.
| Teensy LC | $15.95 | Teensy LC | ||||
| Enclosure | $10.99 | |||||
| Switches | 8 | x | $1.97 | is | $15.76 | |
| LED | $1.80 | |||||
| power jack | $0.00 | |||||
| Usb Jack | $11.38 |
switchcraft EHUSBBAX
|
||||
| Total | $55.88 |
So the build was straightforward.
These are the tools I used. As always, nothing special other than the STEP BITS, which were $15 and are solid gold.

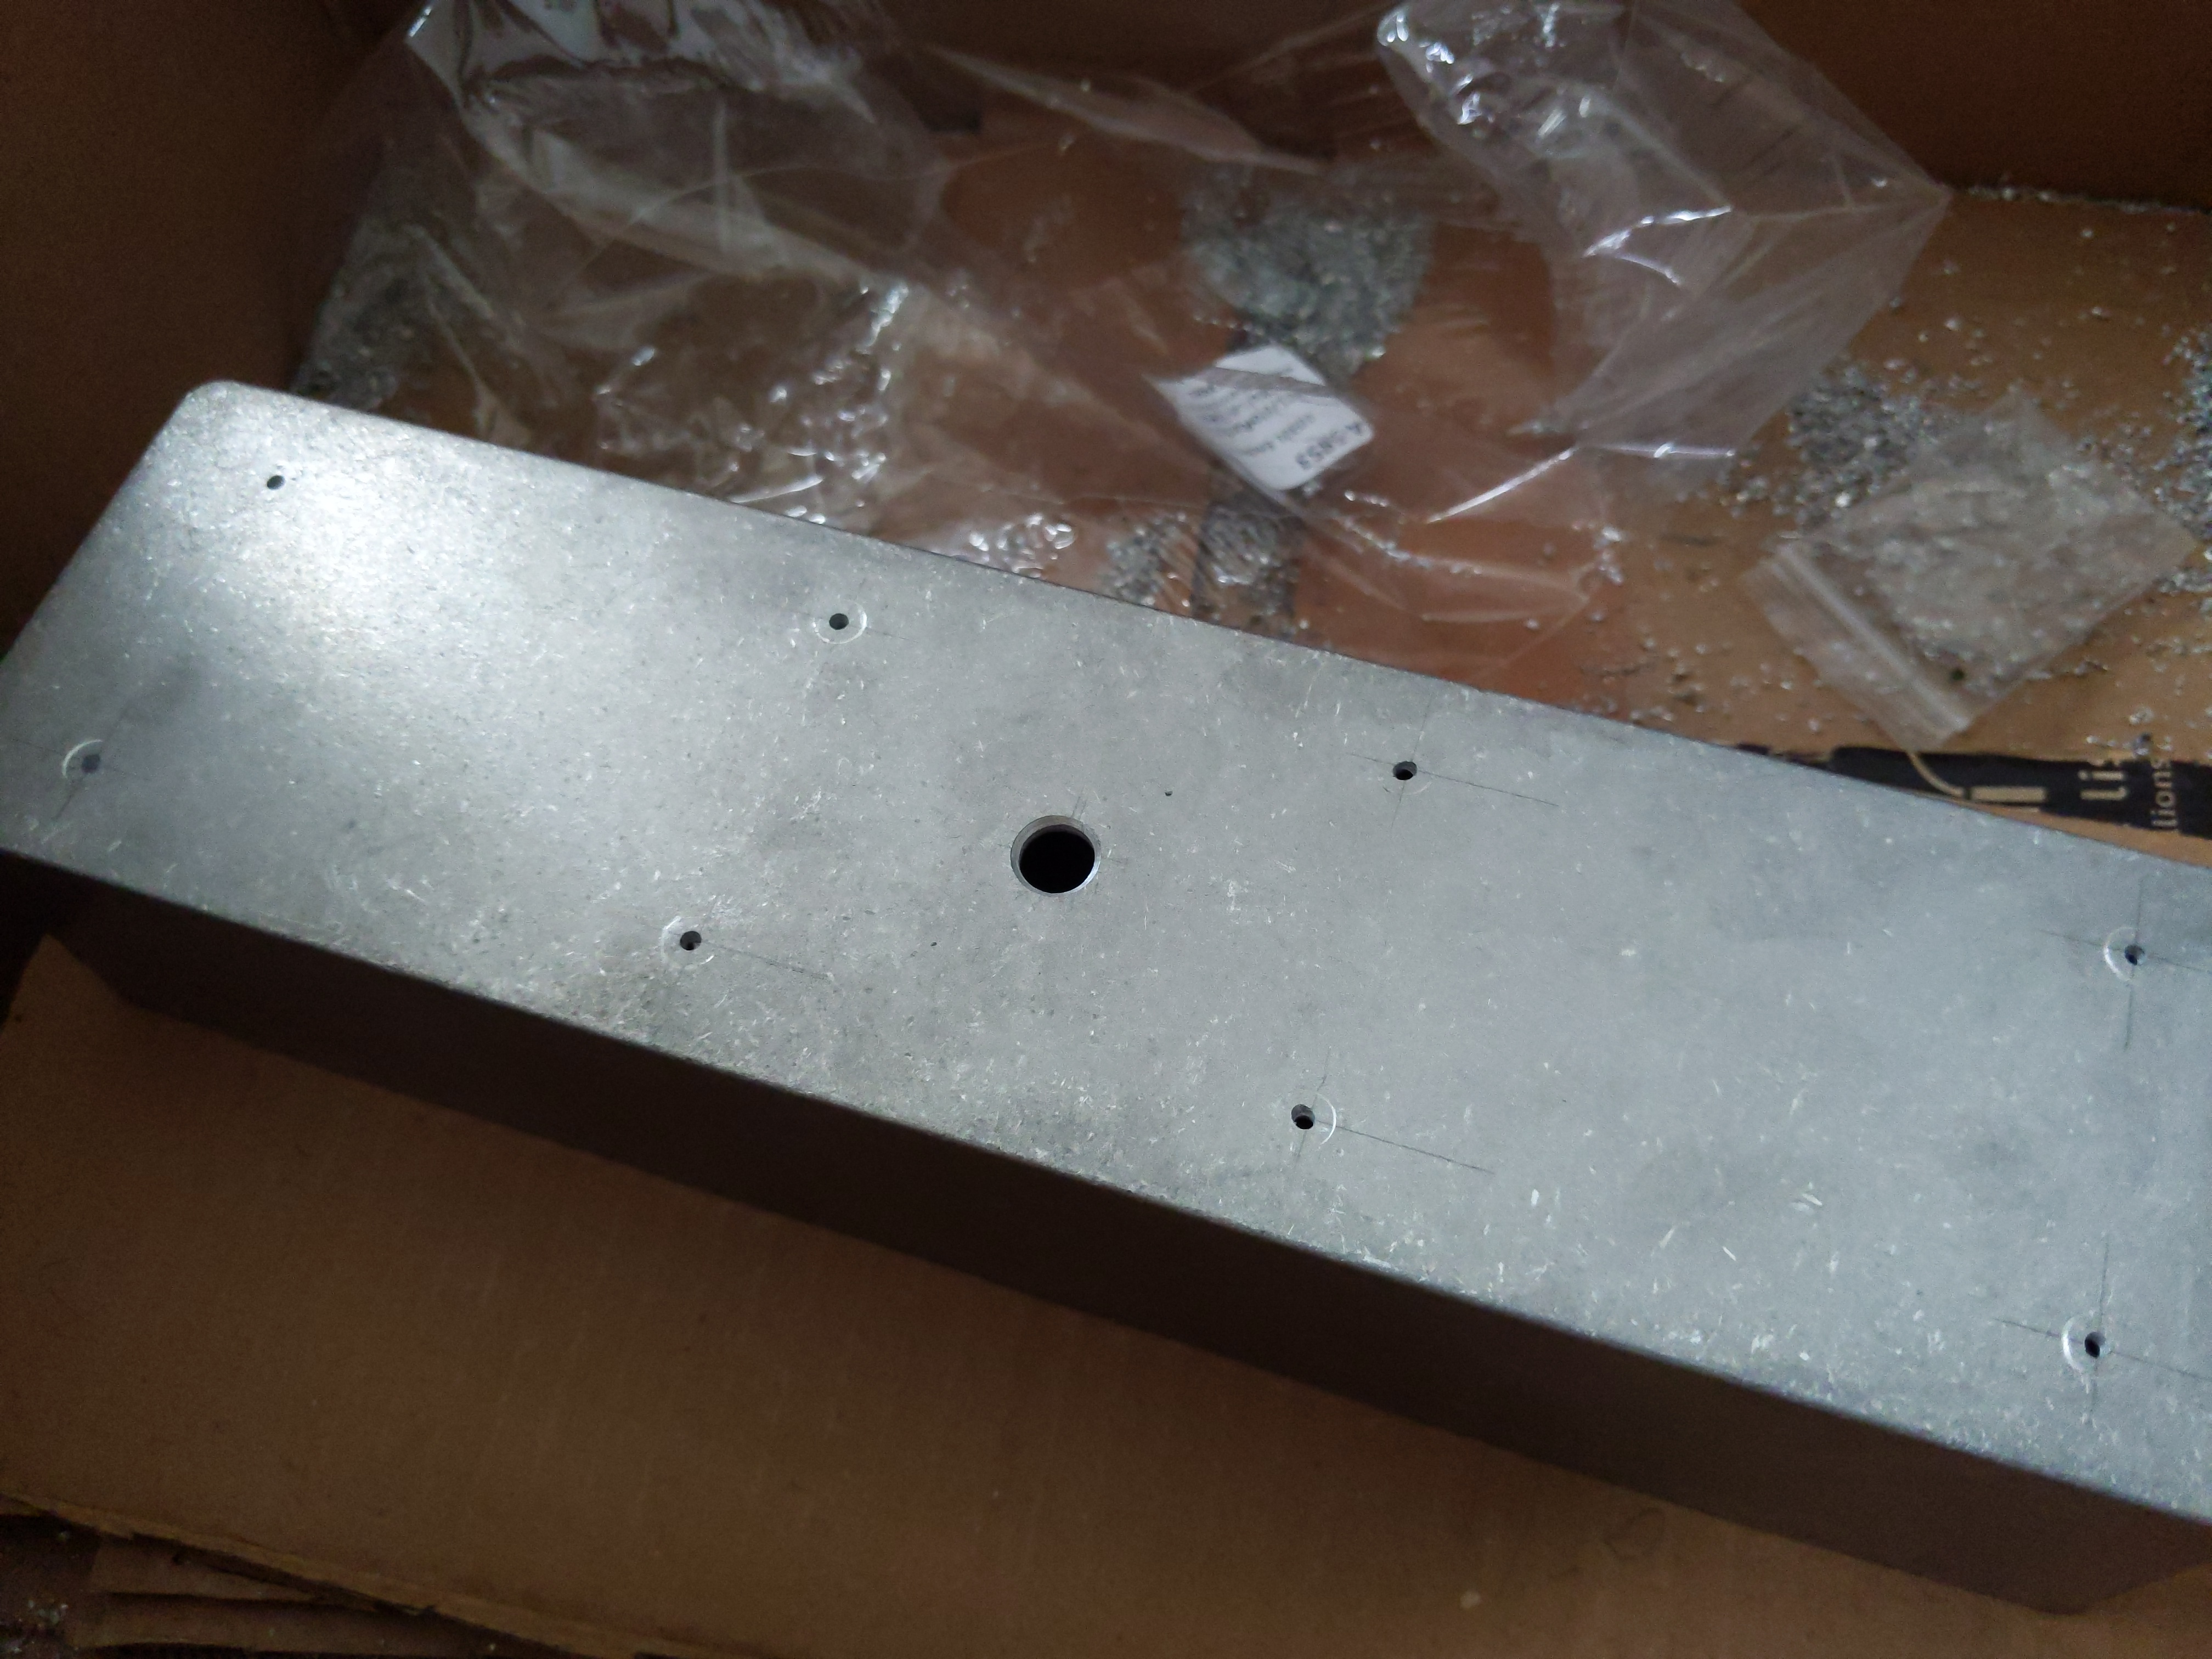
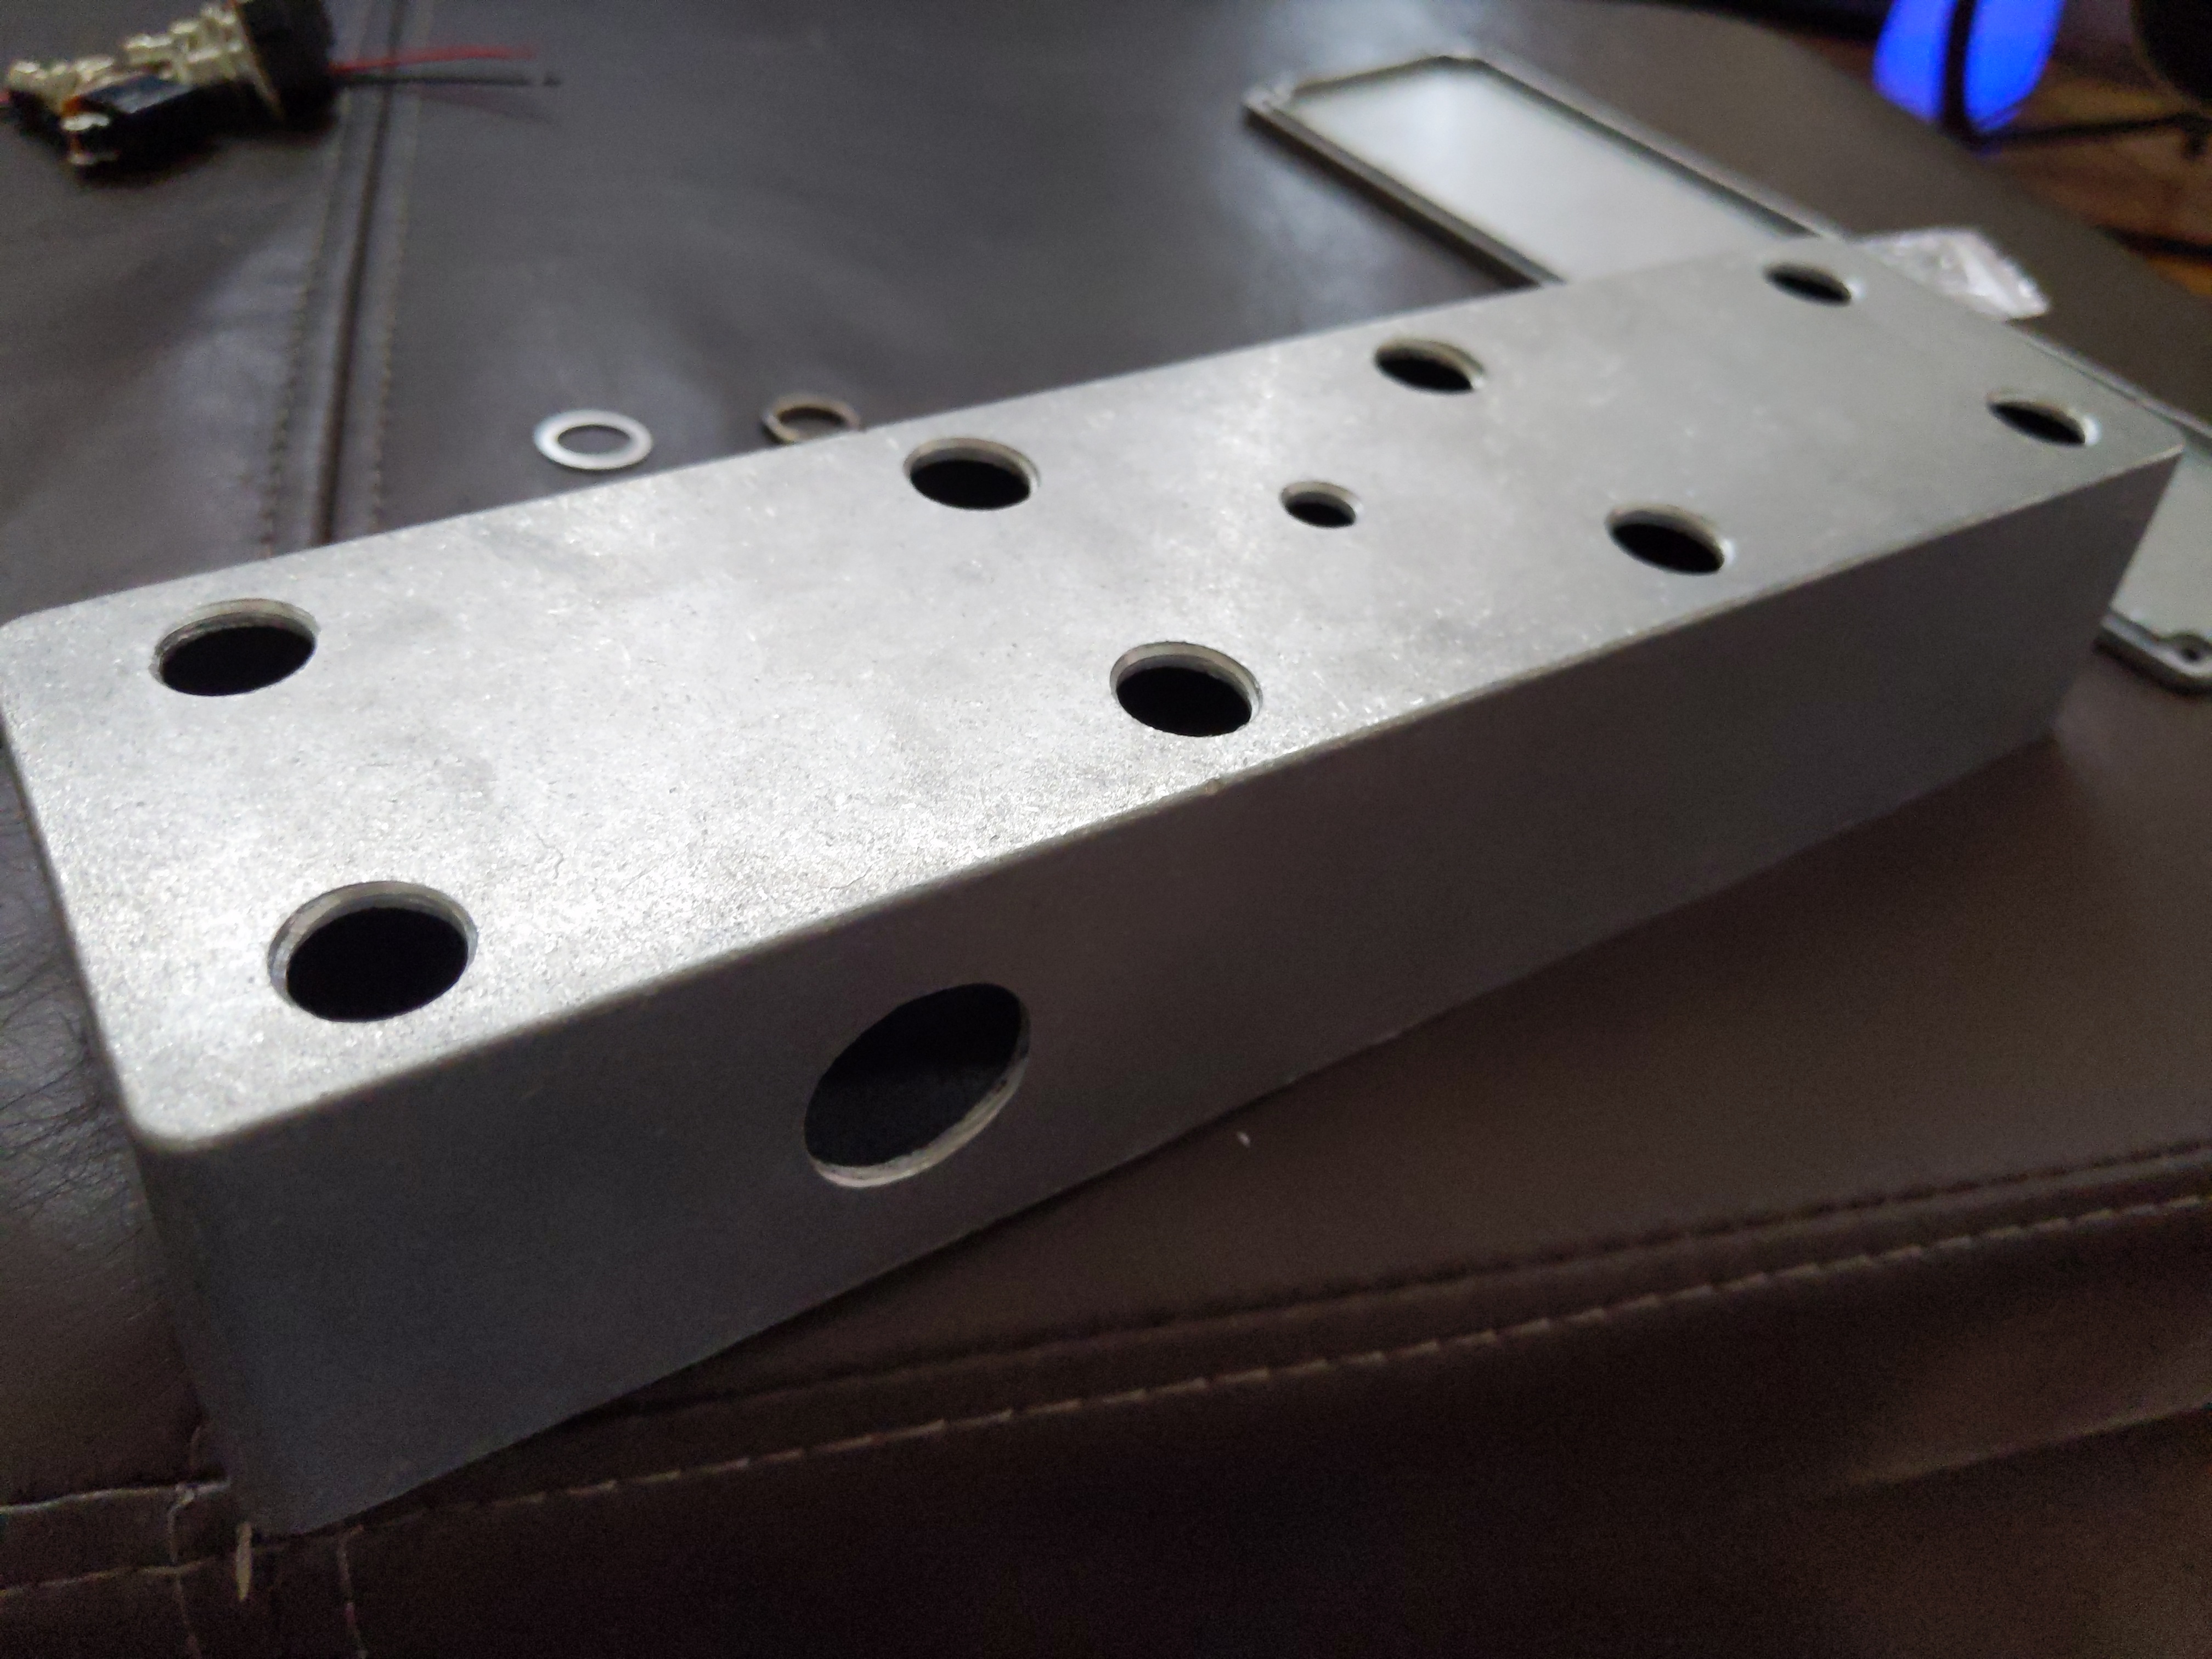
I used an unfinished enclosure cuz I couldn’t find a finished one anywhere… but I LIKED IT.
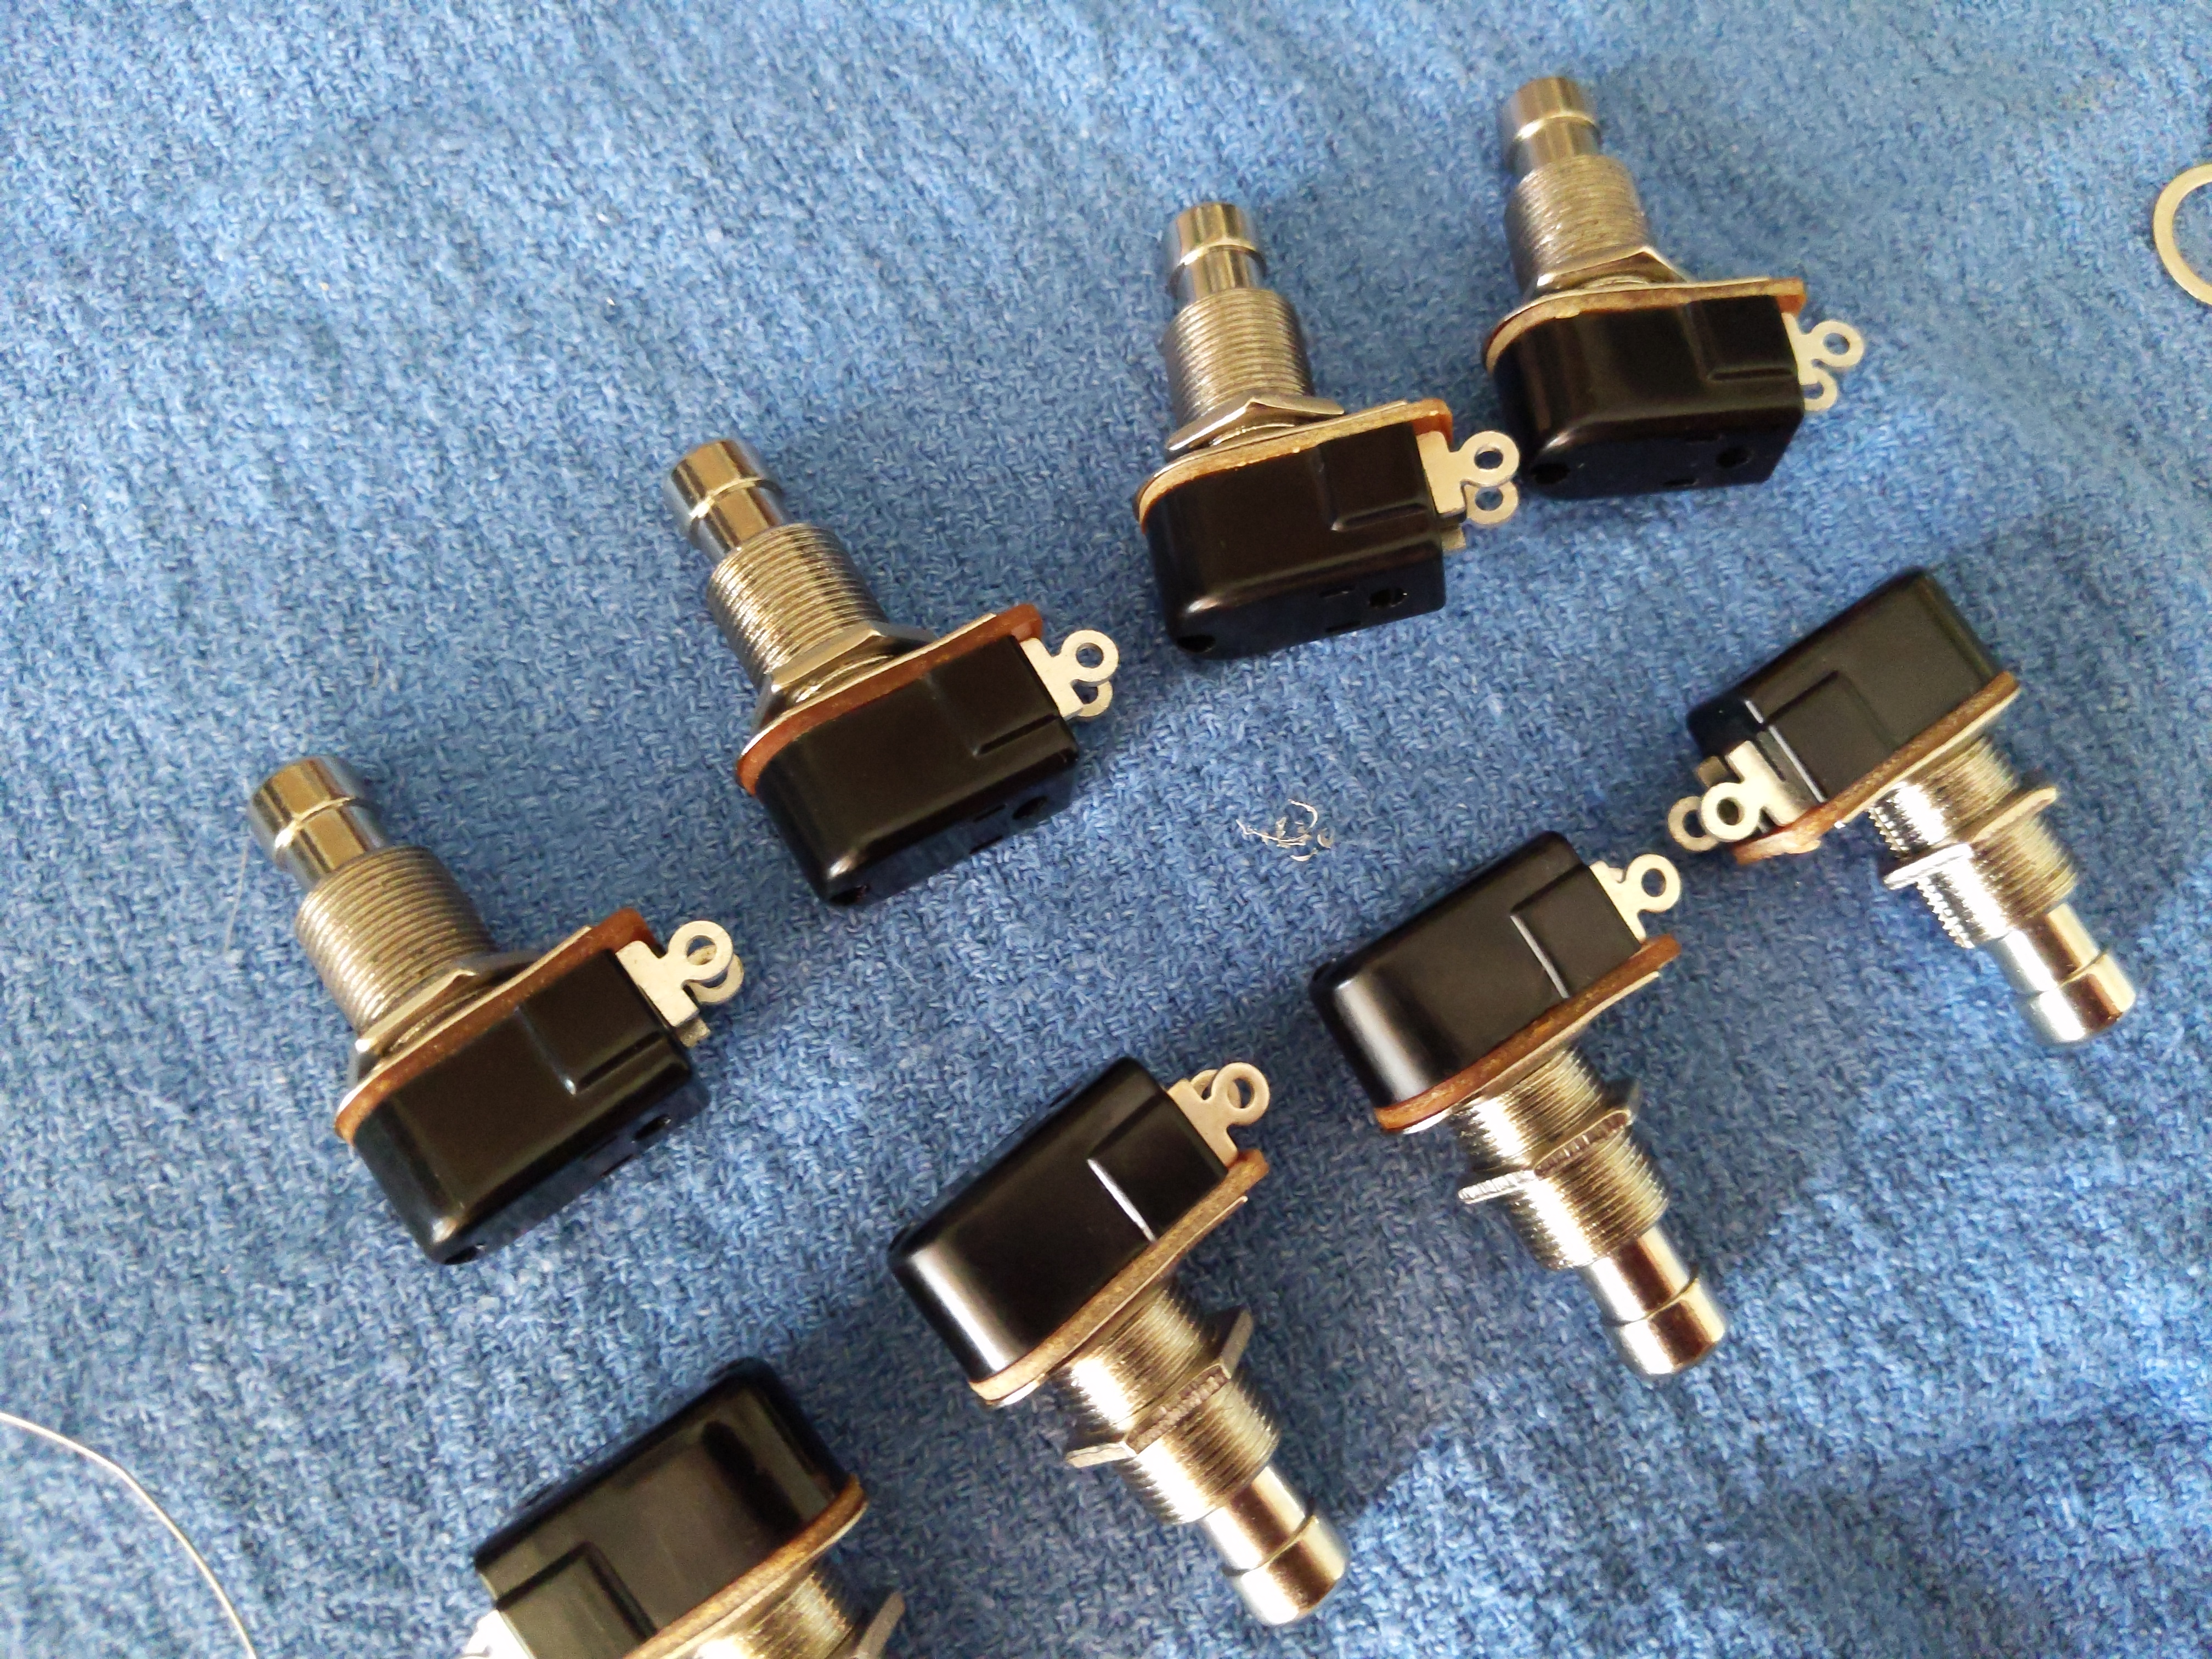
These are standard NORMALLY OPEN (NO) Momentary switches.
I should have put it in the LONG end.. cuz it was a little too tight once installed:
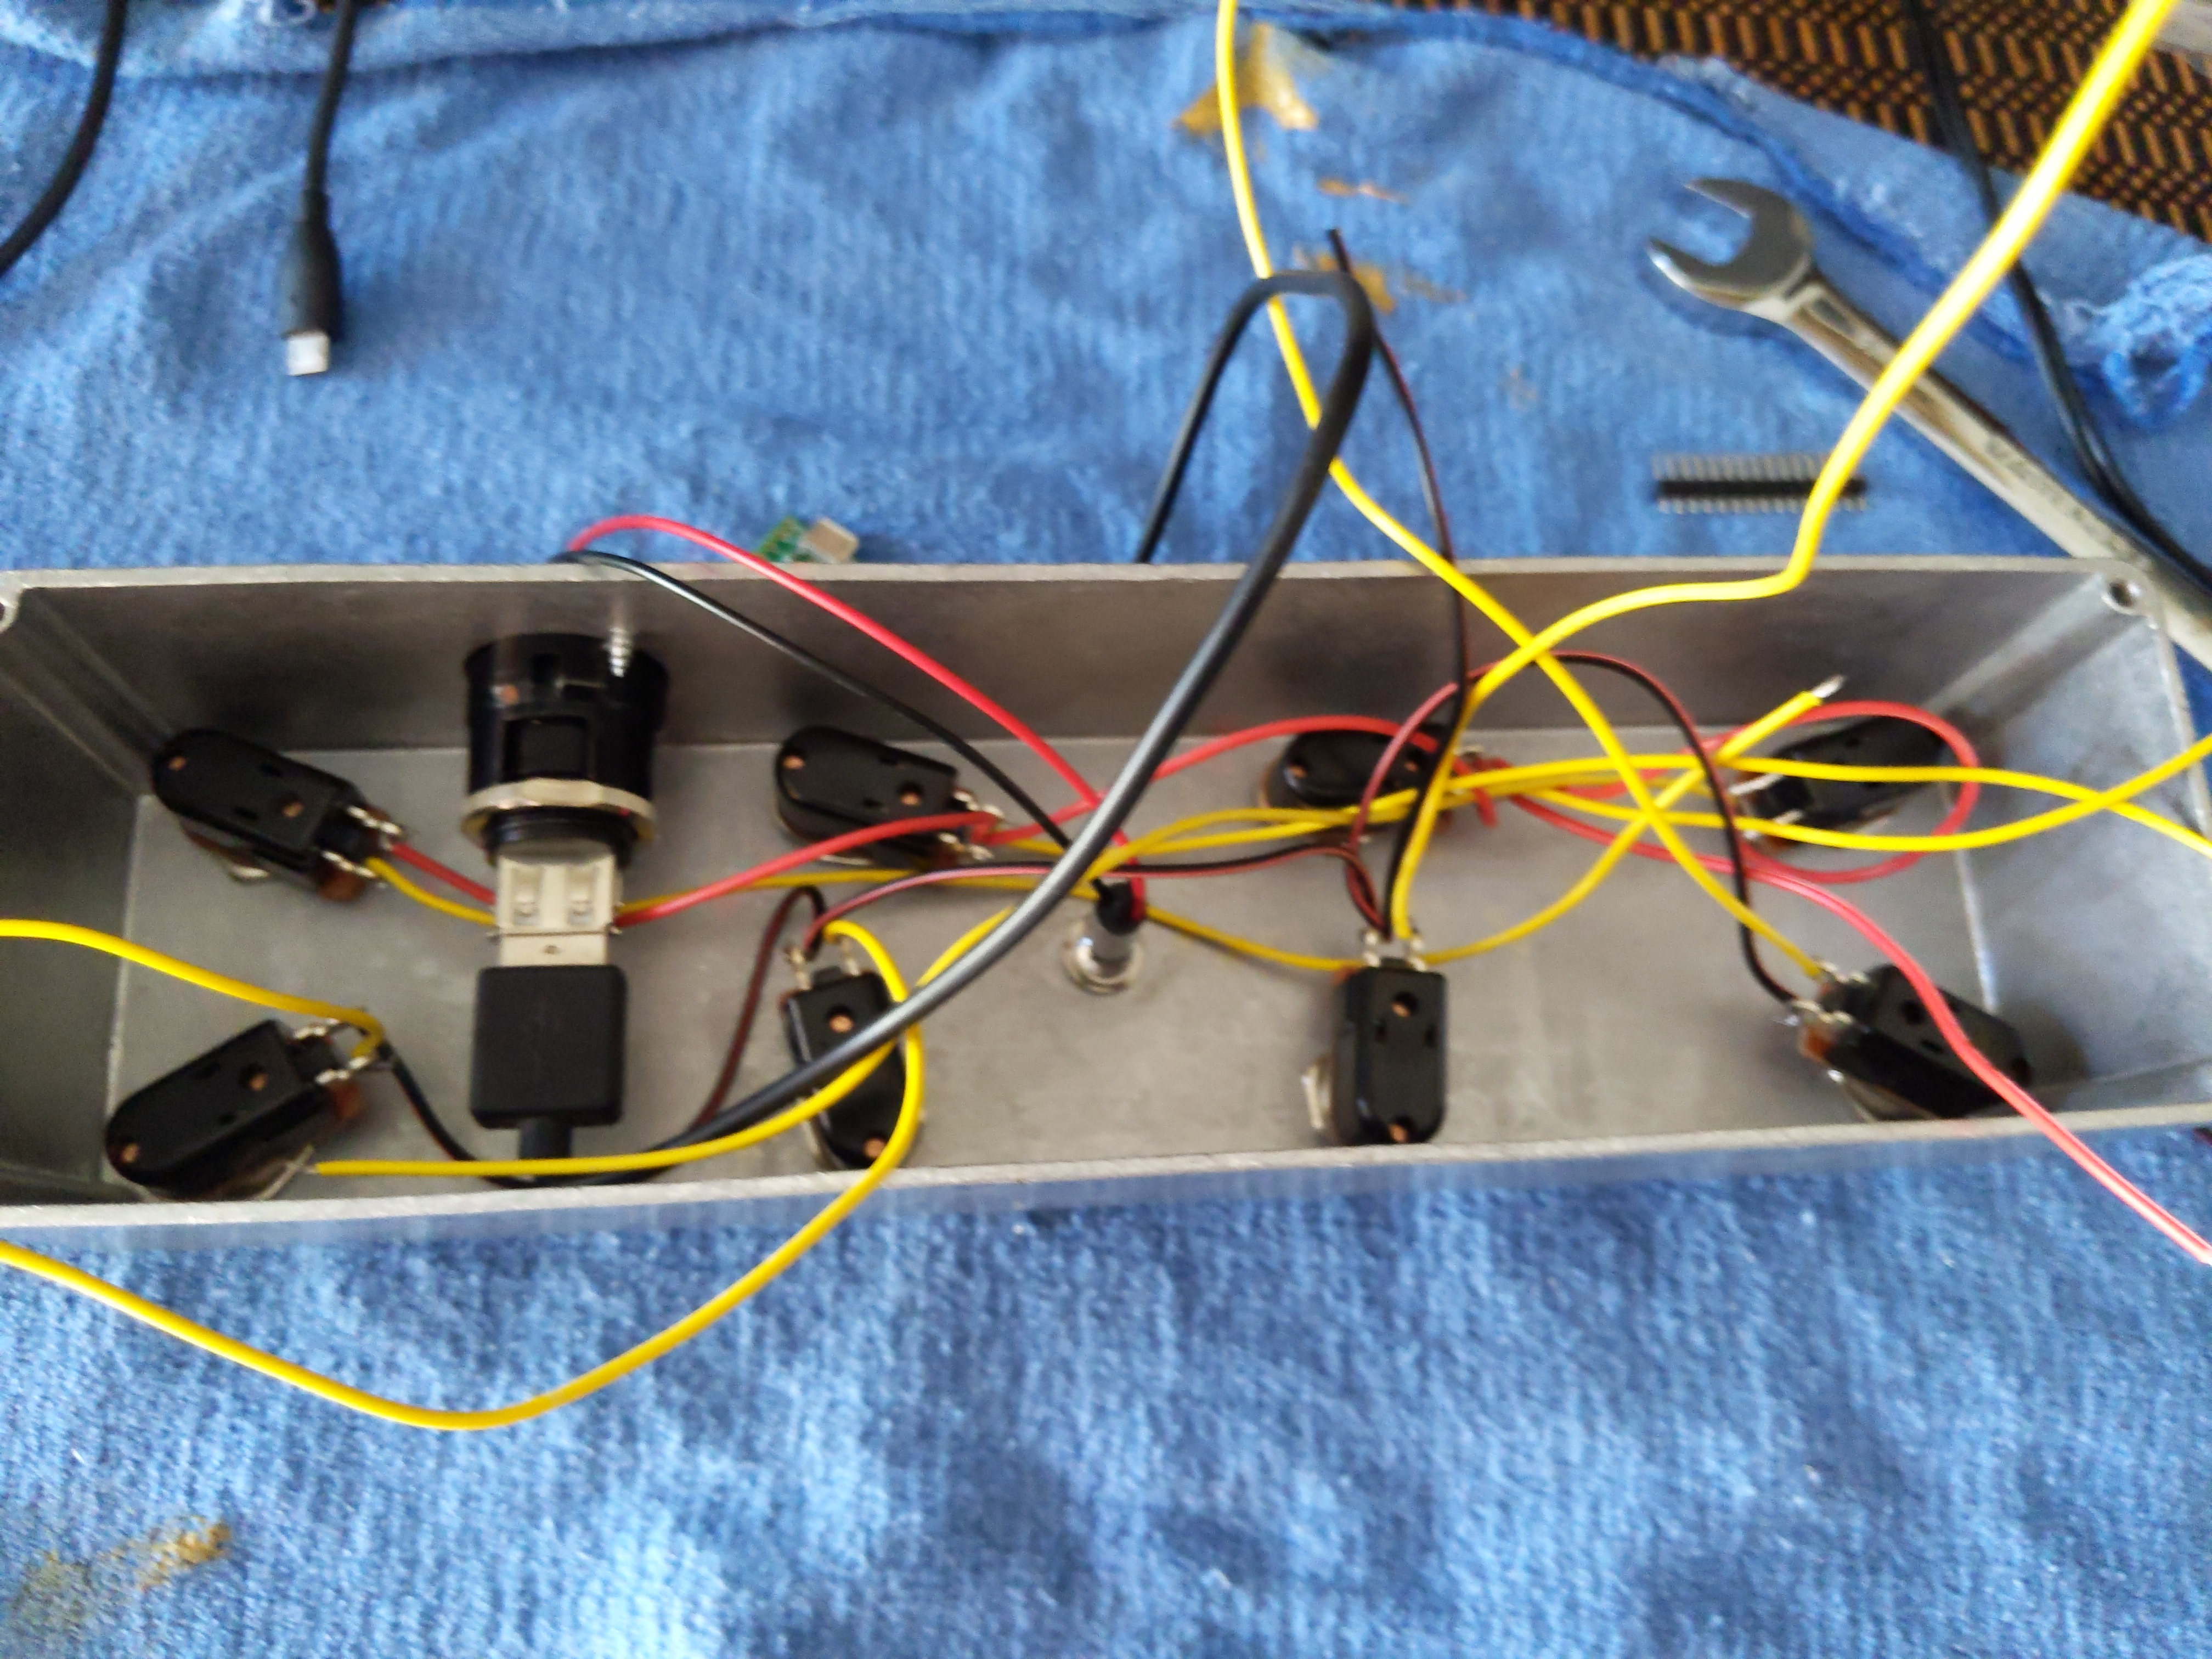
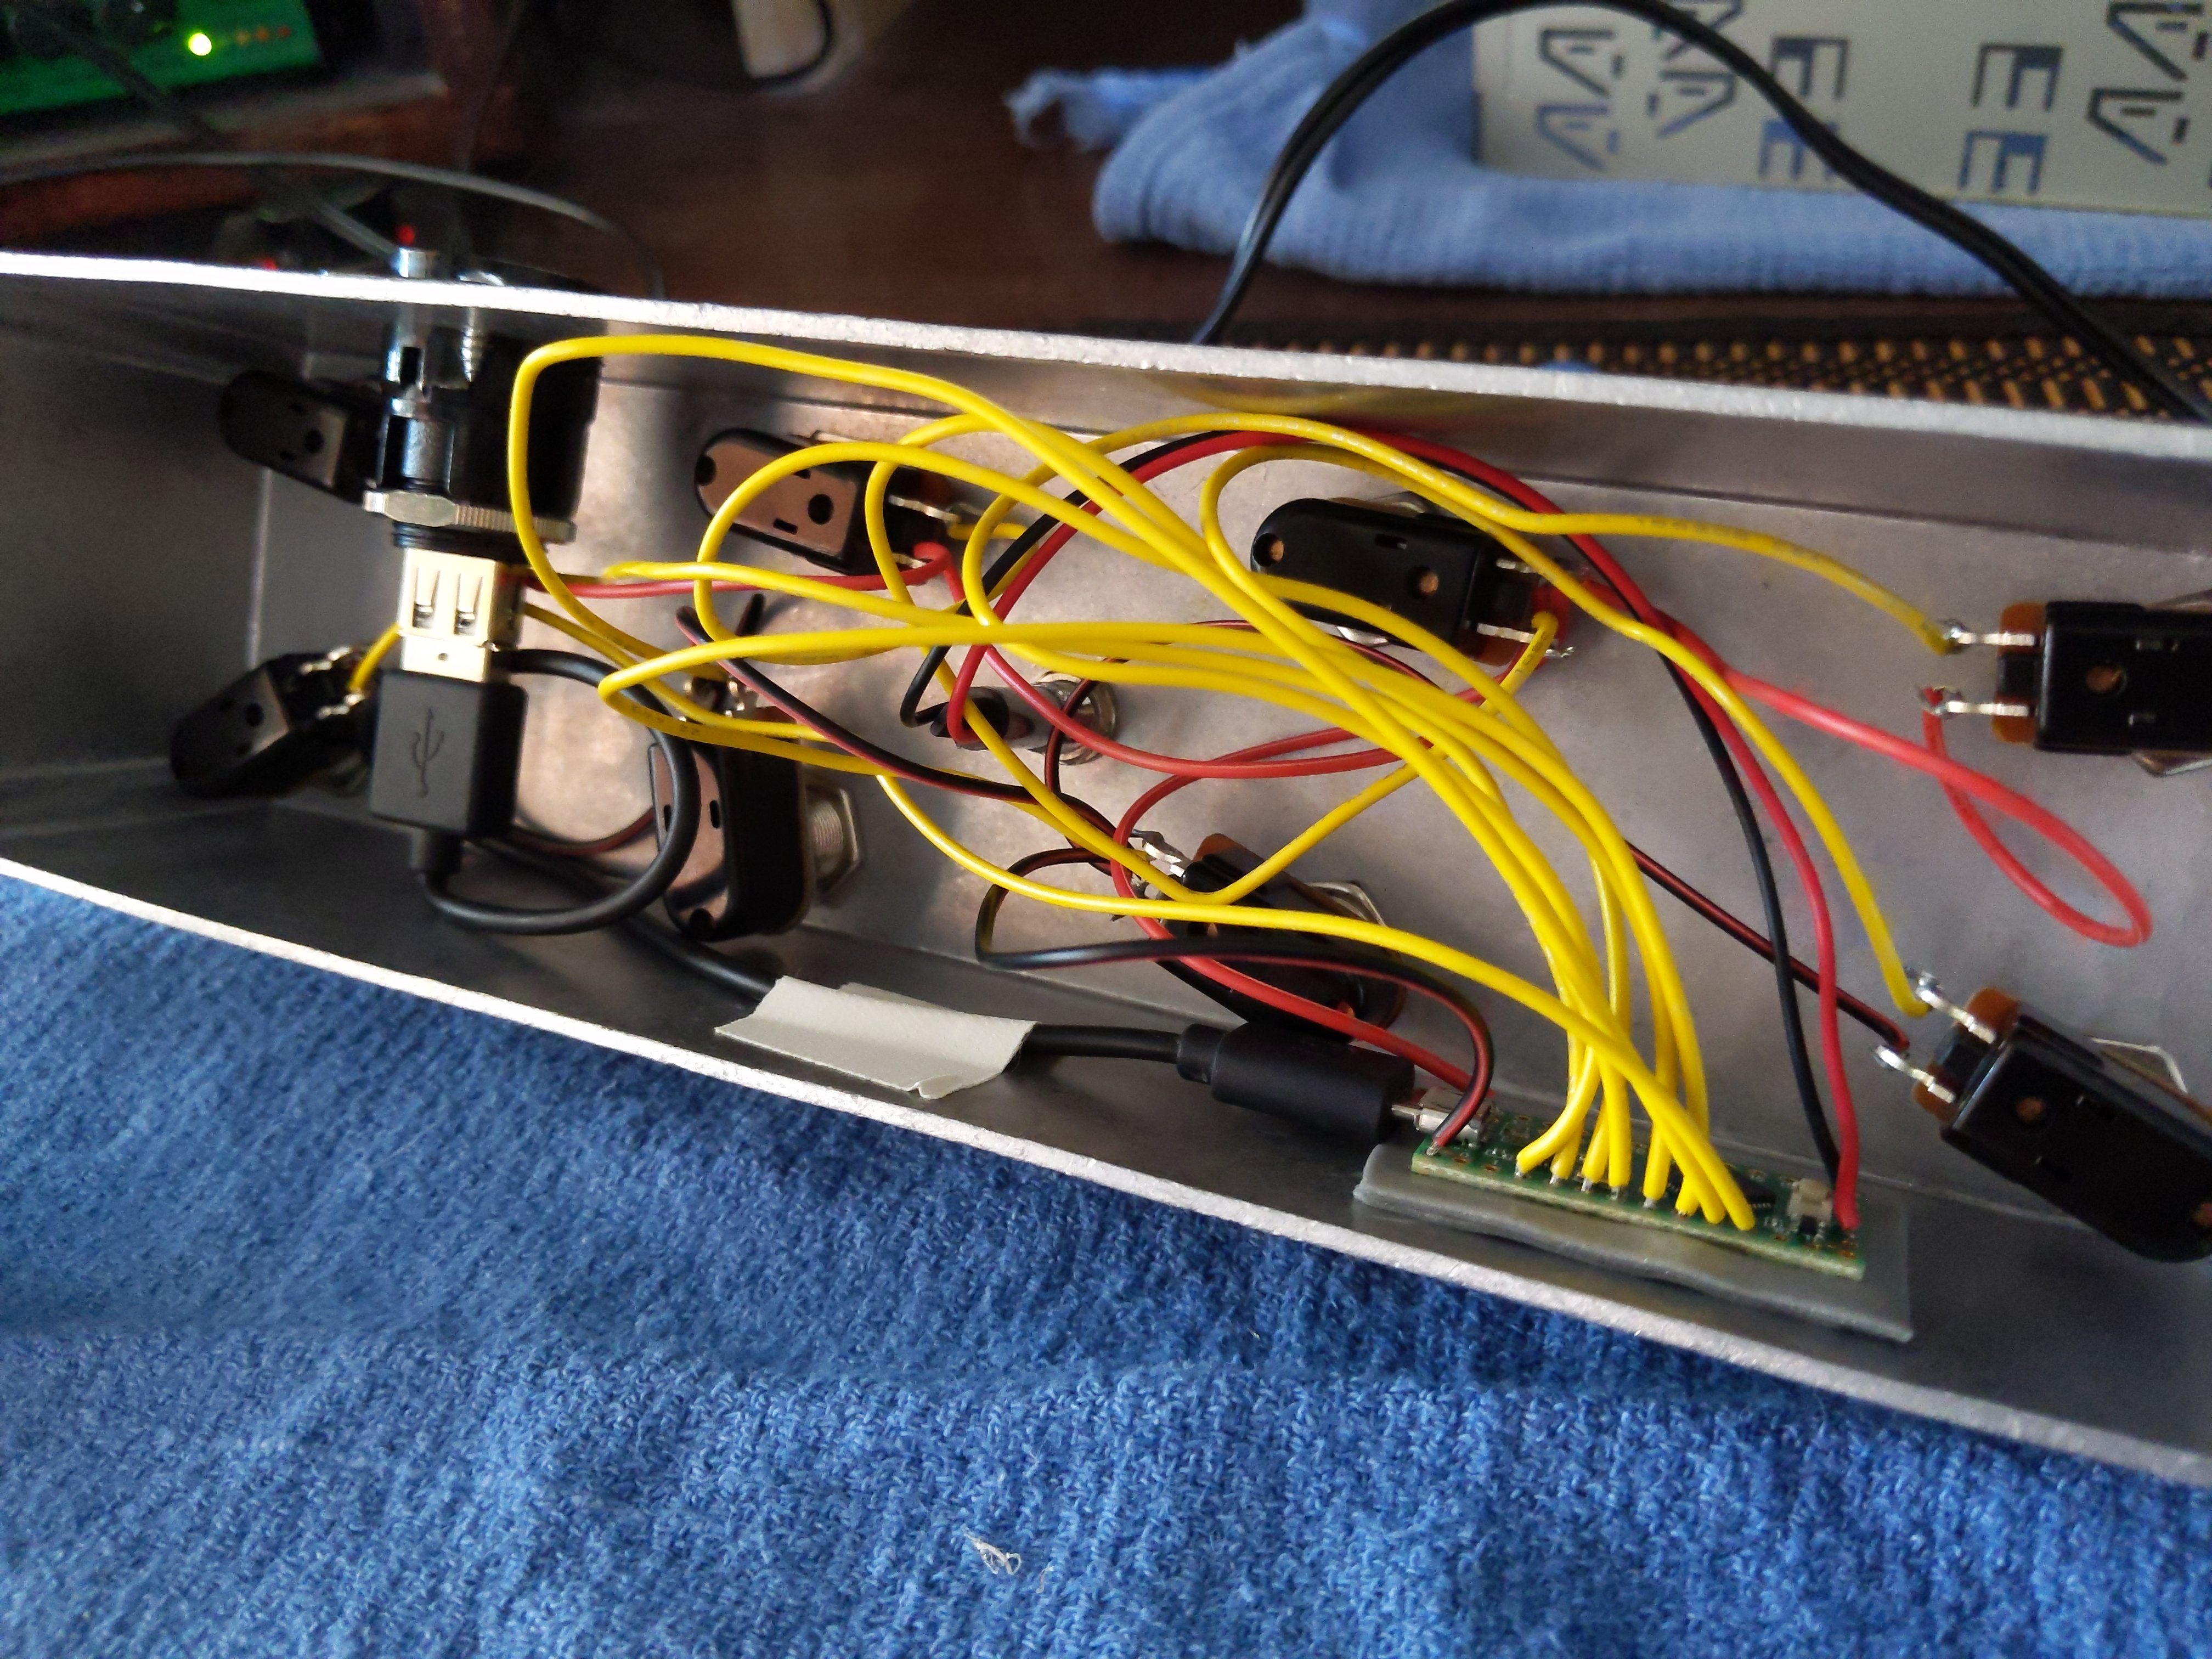
Straightforward wiring. The Teensy was not my favorite for actual soldering. The NANO EVERY has, like, side-access to the metal of the holes, so i is more pleasant. But this was fine.
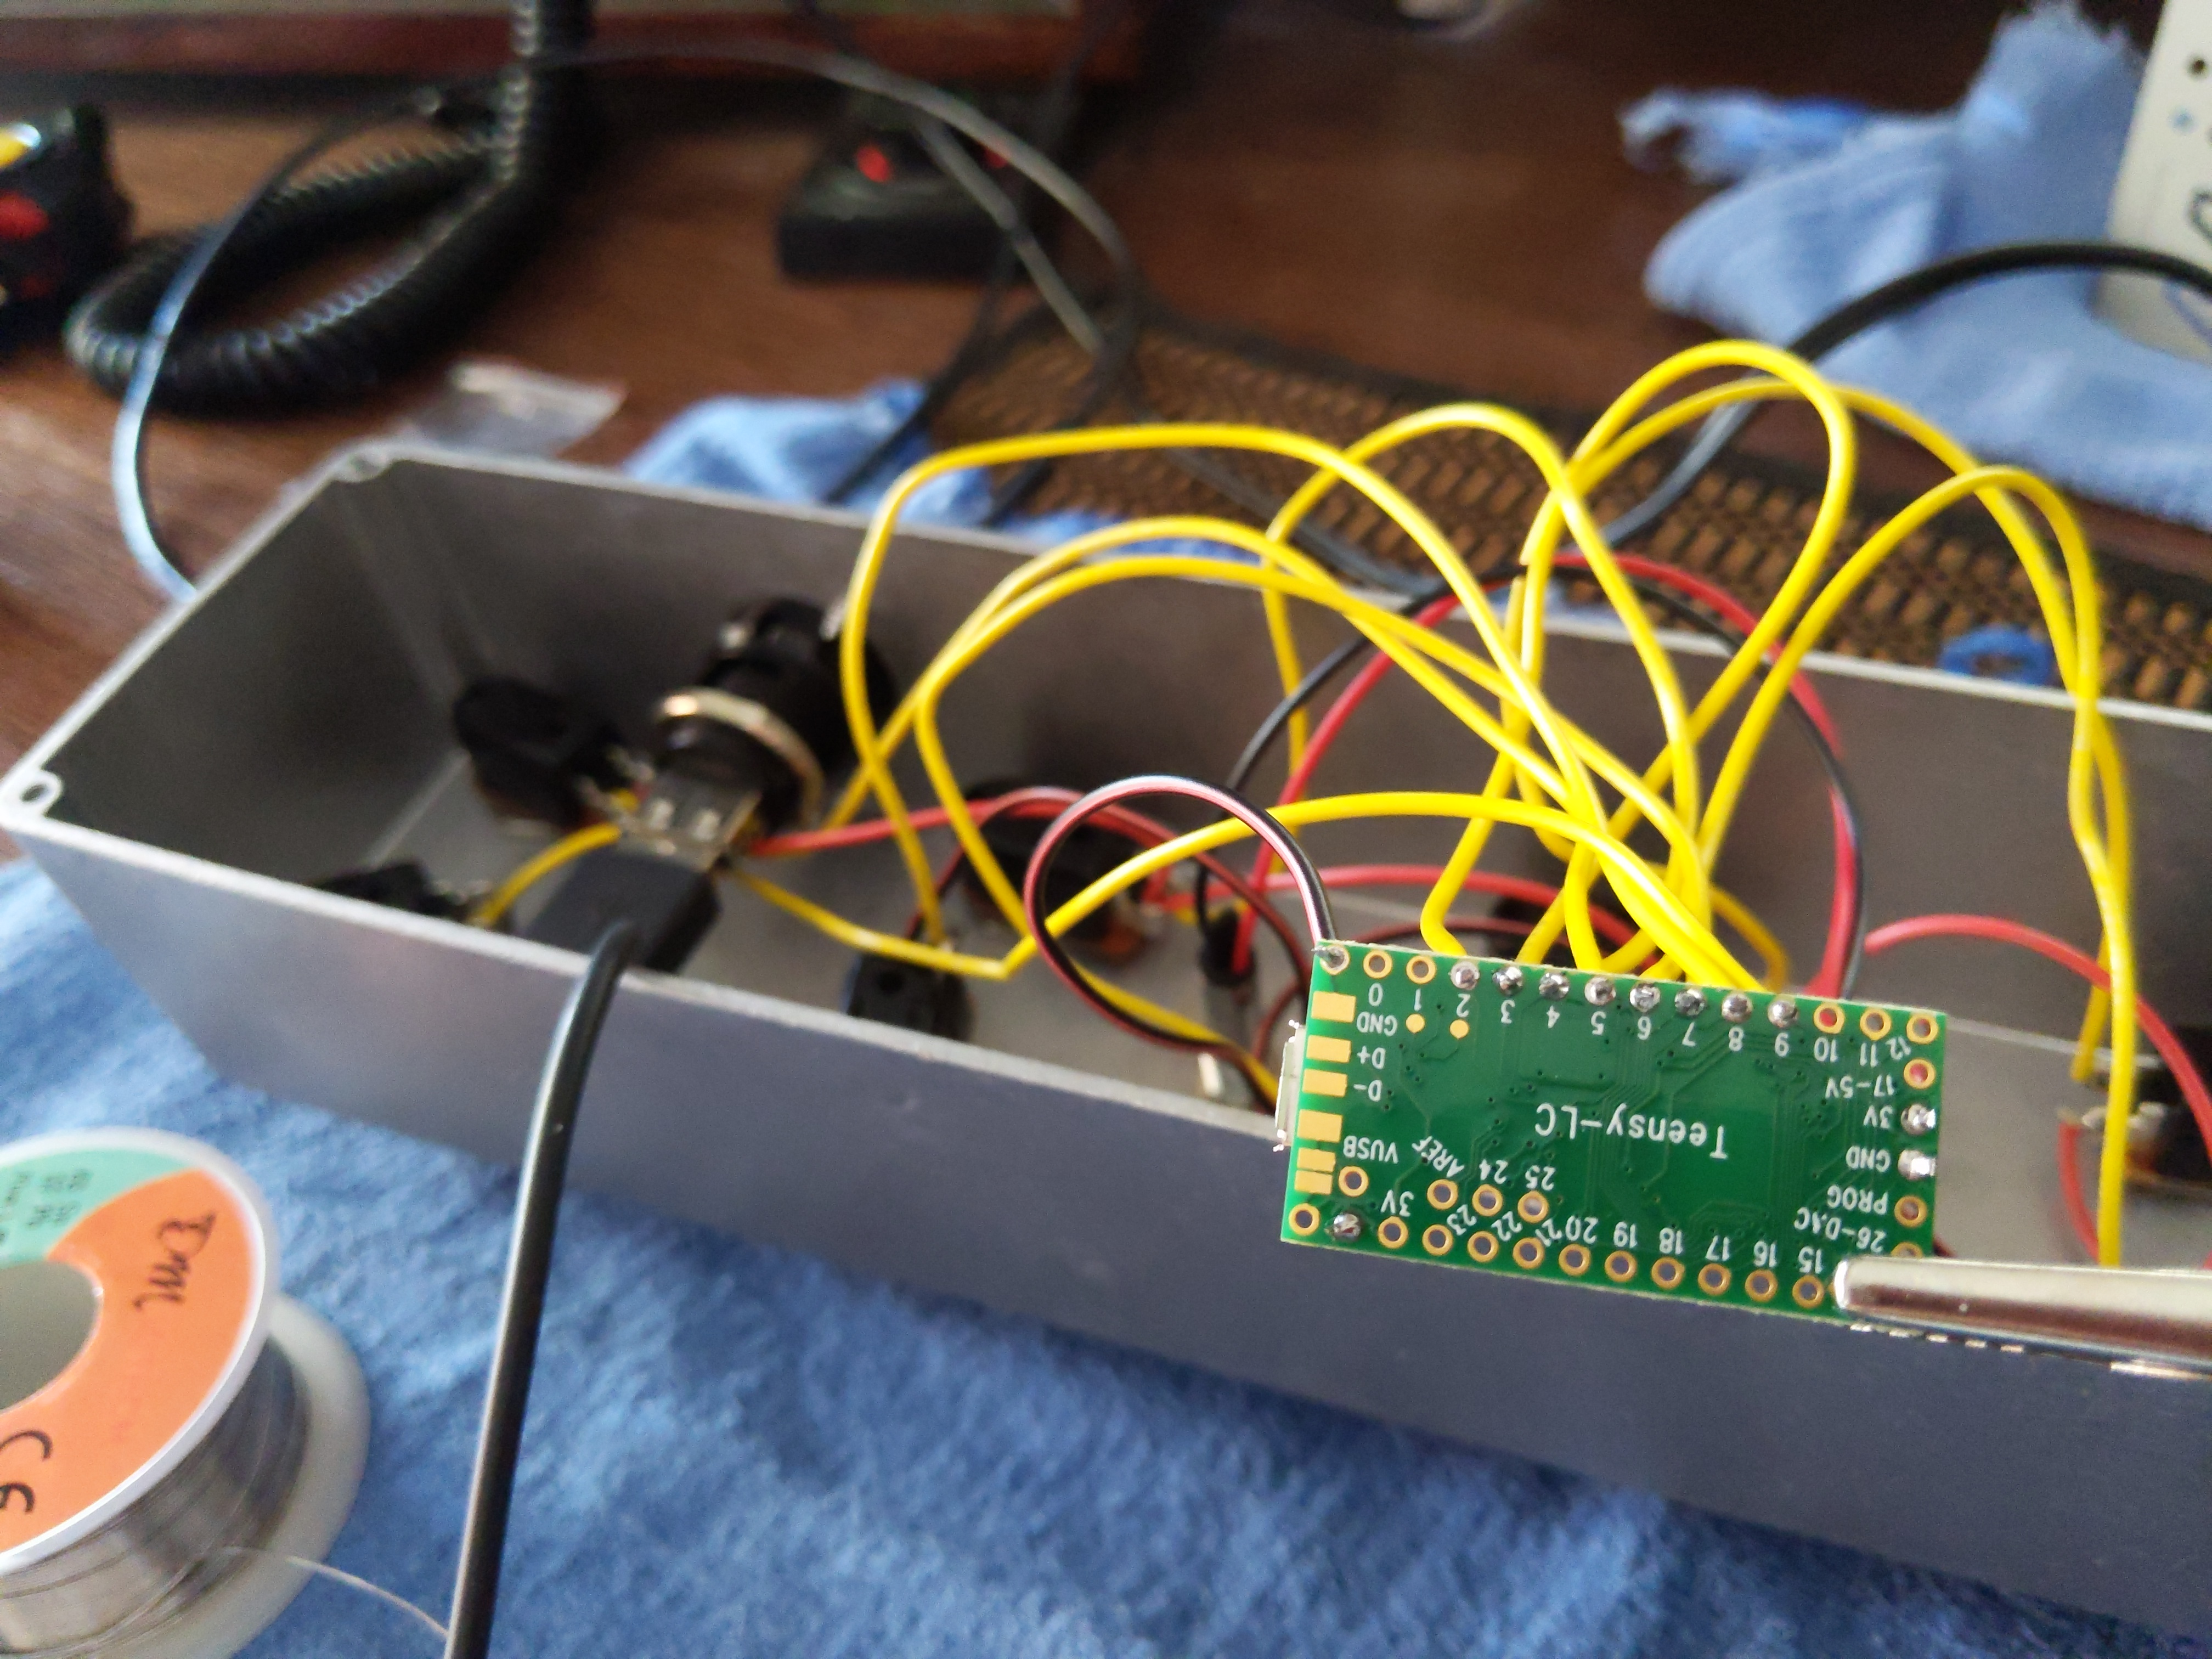
Big case. Plenty of room for mounting:
And that’s that!
Now the code was VERY straightforward, using PieterP’s Control_Surface Library. And it can do many, many things. But for this:
https://thenorthwestenterprise.com/wp-content/uploads/2020/07/USB%208%20button/8_button.ino
// midi.controller  for 8 switch DAW control
// by Cameron @the.nw.enterprise, https://thenorthwestenterprise.com/
// Library Source https://github.com/tttapa/Control-Surface
// Dependency library should also be installed: https://github.com/PaulStoffregen/Encoder
// Written for TEENSY LC

#include <Control_Surface.h> // Include the library

// Instantiate a MIDI interface
//USBDebugMIDI_Interface usbmidi(115200); // uncomment this for serial monitor in ide
//HardwareSerialMIDI_Interface serialmidi = {Serial, MIDI_BAUD}; //uncomment this for 5-pin operation- this sends on TX
USBMIDI_Interface midi; // uncomment for native MIDI over USB
//HairlessMIDI_Interface hair (); // uncomment this for Hairless

/*Instantiate CCbuttons
Will fire 127 on press and 0 on release. Use a momentary switch, like the others.
Assign CC number from here:
https://tttapa.github.io/Control-Surface-doc/Doxygen/d4/dbe/namespaceMIDI__CC.html
https://www.midi.org/specifications-old/item/table-3-control-change-messages-data-bytes-2
*/

CCButton button2 = {2, {MIDI_CC::Sound_Controller_1, CHANNEL_1},};  //switch  CC#70
CCButton button3 = {3, {MIDI_CC::Sound_Controller_2, CHANNEL_1},};  //switch  CC#71
CCButton button4 = {4, {MIDI_CC::Sound_Controller_3, CHANNEL_1},};  //switch  CC#72
CCButton button5 = {5, {MIDI_CC::Sound_Controller_4, CHANNEL_1},};  //switch  CC#73
CCButton button6 = {6, {MIDI_CC::Sound_Controller_5, CHANNEL_1},};  //switch  CC#74
CCButton button7 = {7, {MIDI_CC::Sound_Controller_6, CHANNEL_1},};  //switch  CC#75
CCButton button8 = {8, {MIDI_CC::Sound_Controller_7, CHANNEL_1},};  //switch  CC#76
CCButton button9 = {9, {MIDI_CC::Sound_Controller_8, CHANNEL_1},};  //switch  CC#77

void setup() {
Control_Surface.begin(); // Initialize Control Surface
}

void loop() {
Control_Surface.loop(); // Update the Control Surface
}